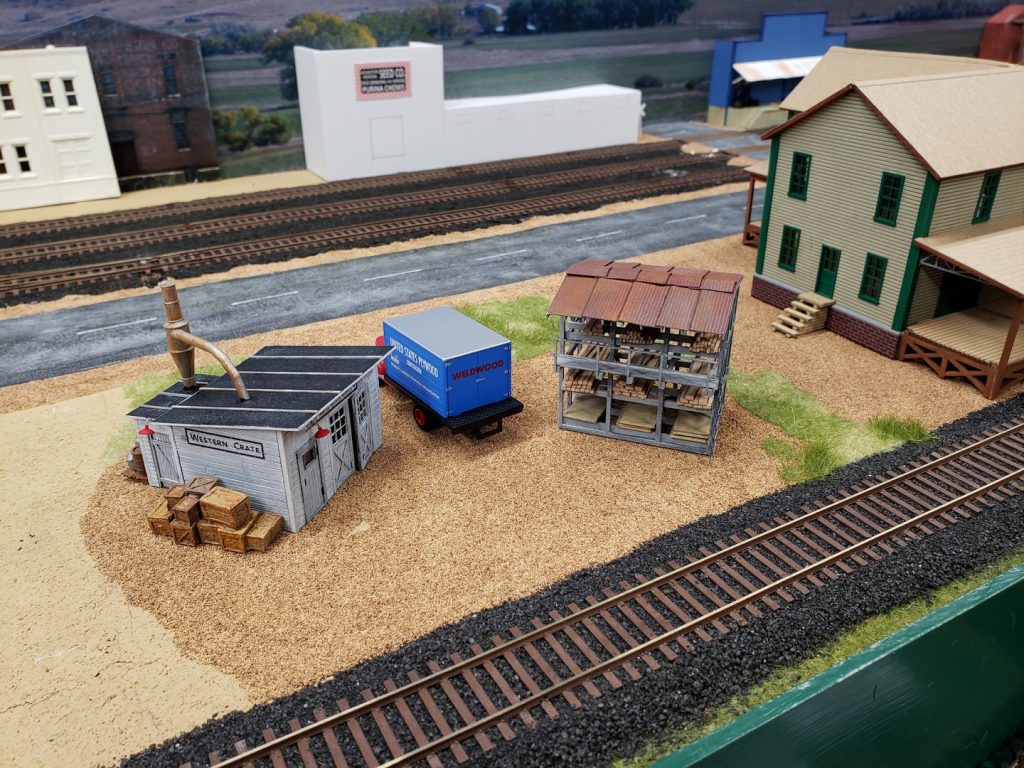
This is a Bar Mills kit to build “Crown Crate”. I followed all the instructions, but changed the name to something more suitable for Montana.
Since it’s a Bar Mills kit, it’s a little fiddly to build. But the end result is worth it.

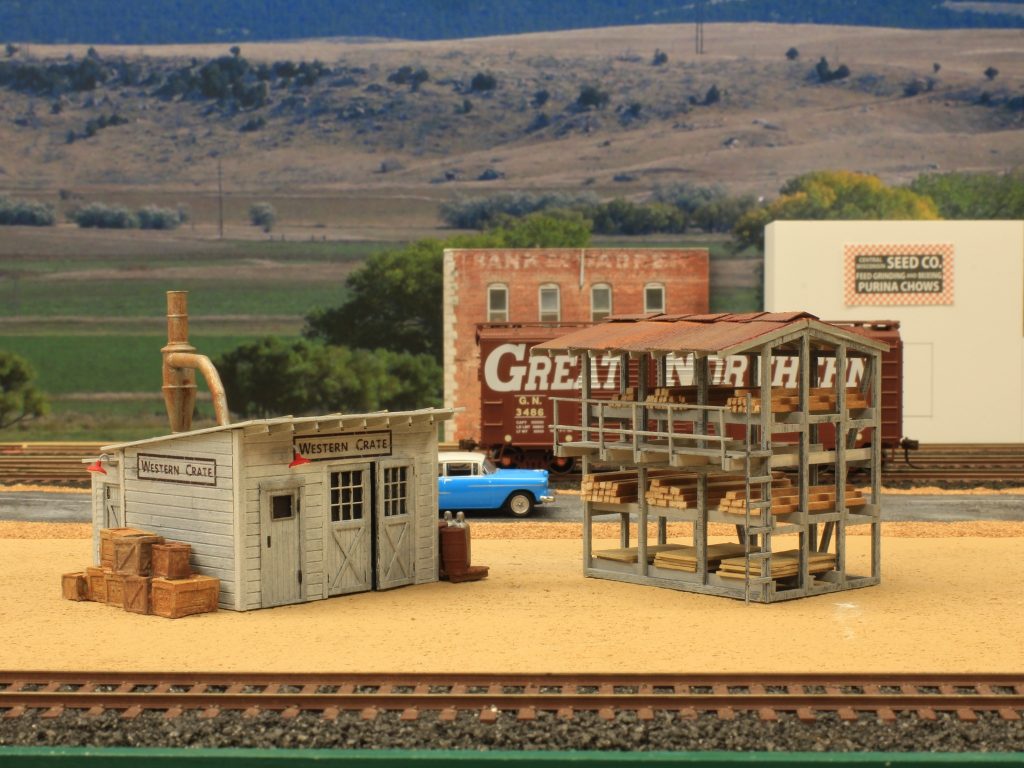
This is a Bar Mills kit to build “Crown Crate”. I followed all the instructions, but changed the name to something more suitable for Montana.
Since it’s a Bar Mills kit, it’s a little fiddly to build. But the end result is worth it.
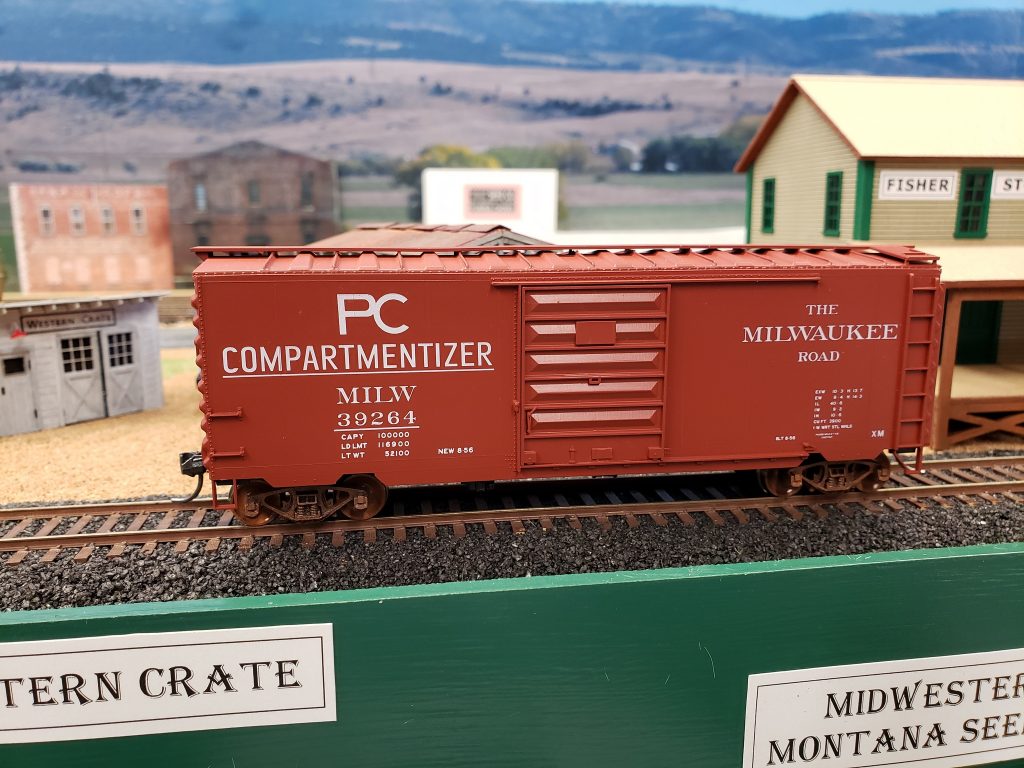
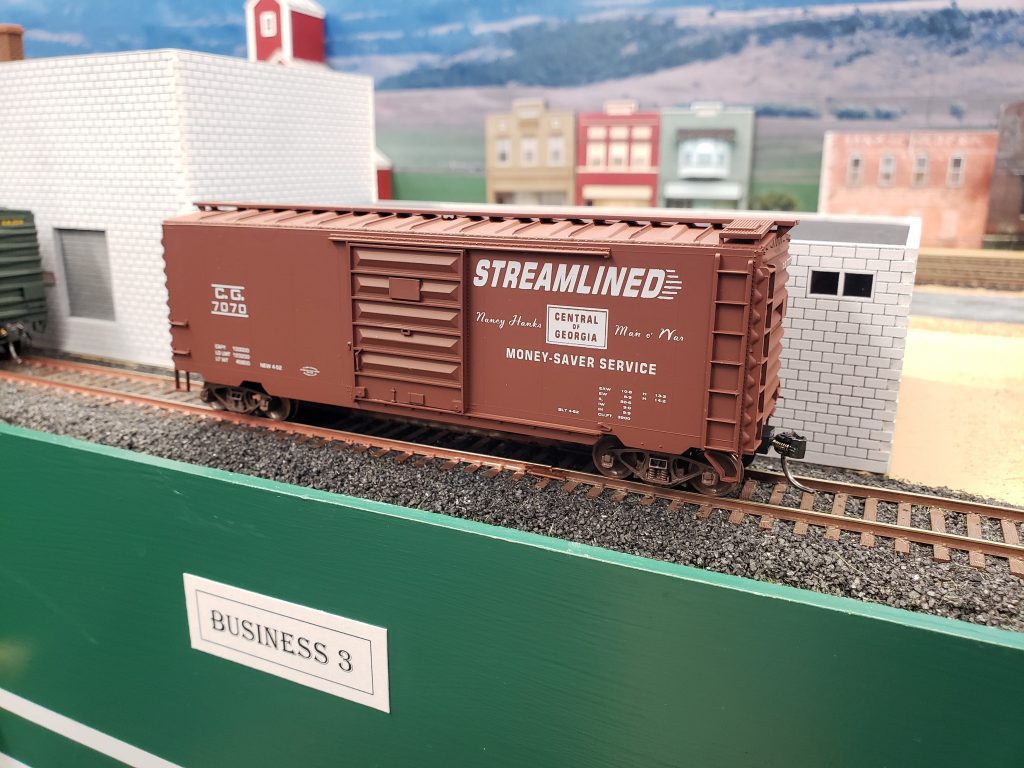
I’m building my second Branchline Blueprint Series Box Car model and I thought I’d document my process. It’s a little different than what the instructions suggest you do.
The instructions are a little vague about what order you should assemble things, and if you follow them in the normal reading direction (left to right, top to bottom) you are more likely to break some small parts.
Continue readingWhen I was at the train show I decided the residents of Blackwing needed somewhere to eat. There was a vendor with the Walther’s “Betty’s Diner” kit for sale at a reasonable price and since it fit my time period I thought I’d pick it up.
The majority of the kit is molded in a greyish “silver” color, with the seats and tables molded in red. There are also some clear parts for windows.
I sprayed the grey parts with Rustoleum Aluminium spray paint to make them look more like chrome, and left the red parts alone. I thought about washing the red parts with some black to add some detail, but you can’t really see the interior all that well when it’s assembled.
Continue readingI went to the swap meet again and this time I picked up a Proto 2000 model of an EMD GP7 painted for the Great Northern.
It’s a really nice looking model, and has some very nice detailing. It even comes with optional parts you can install, including an all-weather hatch to put over the radiator fans, some all-weather window boxes and various MU hose stands. I haven’t applied these details yet – that will be another post.
This post is about installing a Soundtraxx Tsunami DCC decoder, a speaker and new LED lights.
Continue readingOn Friday and Sunday I put down some ballast on the track on the Northeast end of the layout.
More and more progress to report. Since the last progress report I’ve gotten the following done:
I installed the “fiddle yard” extension, painted the top of it tan, put down the cork roadbed, built two more turnouts to finish the “run around” area, and laid all the track.
Continue readingI know the last post was about being discouraged, but that doesn’t mean I stopped working on the layout. I took a day or two off to do other things and then buckled down to get back to it.
The first thing was to try and figure out what was wrong with engine number 141. I took it all apart and made sure the gears were installed correctly, meshing correctly and properly lubed. I also shimmed the slop out of the worm gear bearings.
Unfortunately there is still some jerkiness at slow speeds. I think it’s the motor “cogging” and may just be inherent in the beast. It does run pretty slowly and other than some jerkiness it’s smooth, so I think I’ll just have to live with it for a bit.
Continue readingOn Monday I decided to run my locomotives around on the layout to test the turnouts.
First I ran the V0-1000 diesel around. Sadly it did not go all that well. It looks like I need to do some re-work on all the turnouts. The point rails don’t quite allow enough clearance and the loco kept derailing.
So I thought it would be fun to just run it on the curves. But the loco made a sort of grinding noise when moving on a curve. That’s not right. So I took it apart to investigate. As far as I can tell there is too much play in the worm gears. So I ordered some shims.
That’s one loco down.
I thought maybe I would pull out the steam locomotive and try it. It didn’t want to run well at all either. At first I thought it was an electrical pickup problem because it would start and stop randomly, but since the sound didn’t stop working when the loco stopped moving it probably wasn’t that. I didn’t feel like taking it apart also so I just packed it away again. I have a feeling it’s binding somewhere and maybe the motor I put in it isn’t really strong enough either. So I ordered a new motor to try later.
That’s two locos down.
I thought it would be fun to try the Proto 2000 GP7 that I bought, even though it doesn’t have DCC in it yet. But first I had to take it apart and replace the gears on the axles. That wasn’t too bad a job so I hooked up an older DC power pack to the rails and ran the GP7 around a bit. It also was derailing on the switches (no surprise really) and it wasn’t running that well either, though that may be the power packs fault. I need to save up a few more dollars and order the DCC decoder to install in it. So I put it away on the shelf and went and took a nap.
That’s three locos down.
For those keeping score, I have three locomotives, none of which are running well. I also have track work that doesn’t work.
I’m going to have to rework all the turnouts until the locos can navigate them properly. And repair the locomotives.
So I’m a little discouraged with the layout at the moment.
Since I managed to place the three bridges and lay the three tracks to cross Lutgens Creek I thought it might be fun to stage a “publicity photo”.
Still plenty of work to do, but it’s starting to look more like a real layout now.
In the last installment about Lutgens Creek I had created the creek bed and painted it tan. The next step was to paint the bottom of the creek bed a darker color and then shade the sides a little.
I had some greenish brown paint (named Chocolate Cupcake, but if my cupcake was that color I wouldn’t eat it) left over from another project and I thought it would do, so I painted a stripe down the creek bed.
Continue reading