
This is a Bar Mills kit to build “Crown Crate”. I followed all the instructions, but changed the name to something more suitable for Montana.
Since it’s a Bar Mills kit, it’s a little fiddly to build. But the end result is worth it.
I took some photos as I was building it, but this is not going to be a “how-to” for building this kit.
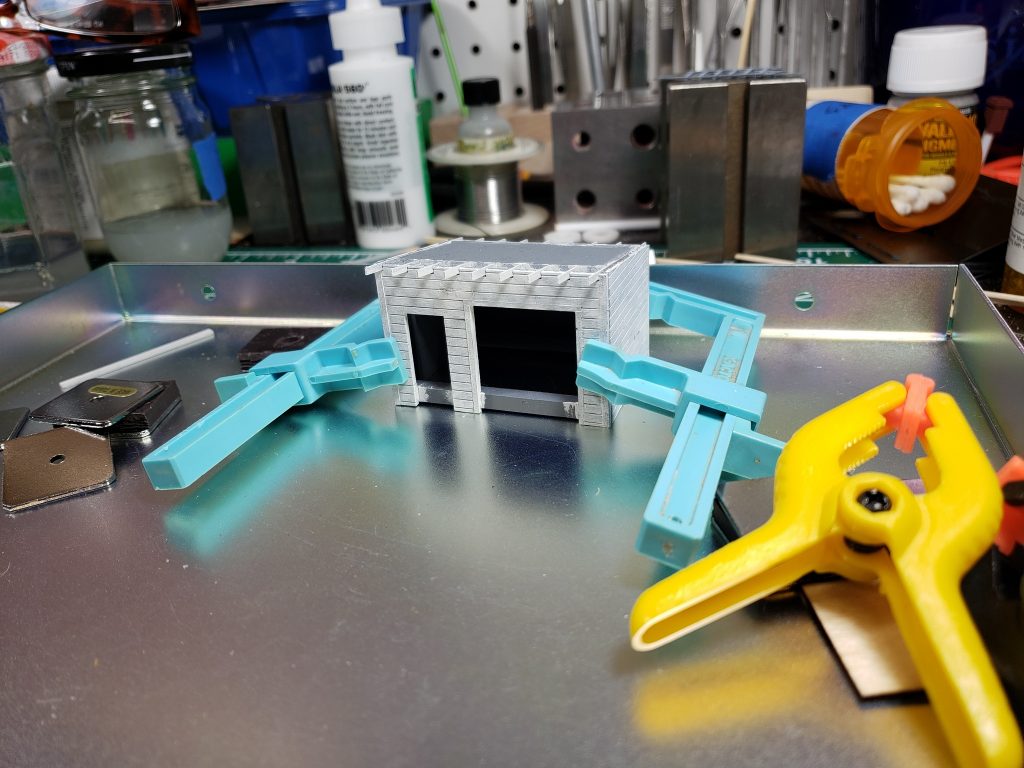
The first step was to add bracing and corner strips to the shed walls. This was followed by priming and painting the walls with a grey/white mix. The paint went on a little thin and the primer shows through a bit, but I like the look.
After that was assembling the shed. I had a little trouble squaring it up, until I followed the instructions and added the roof at the same time. The rafters are pretty fragile, but I managed to get it together without breaking any.
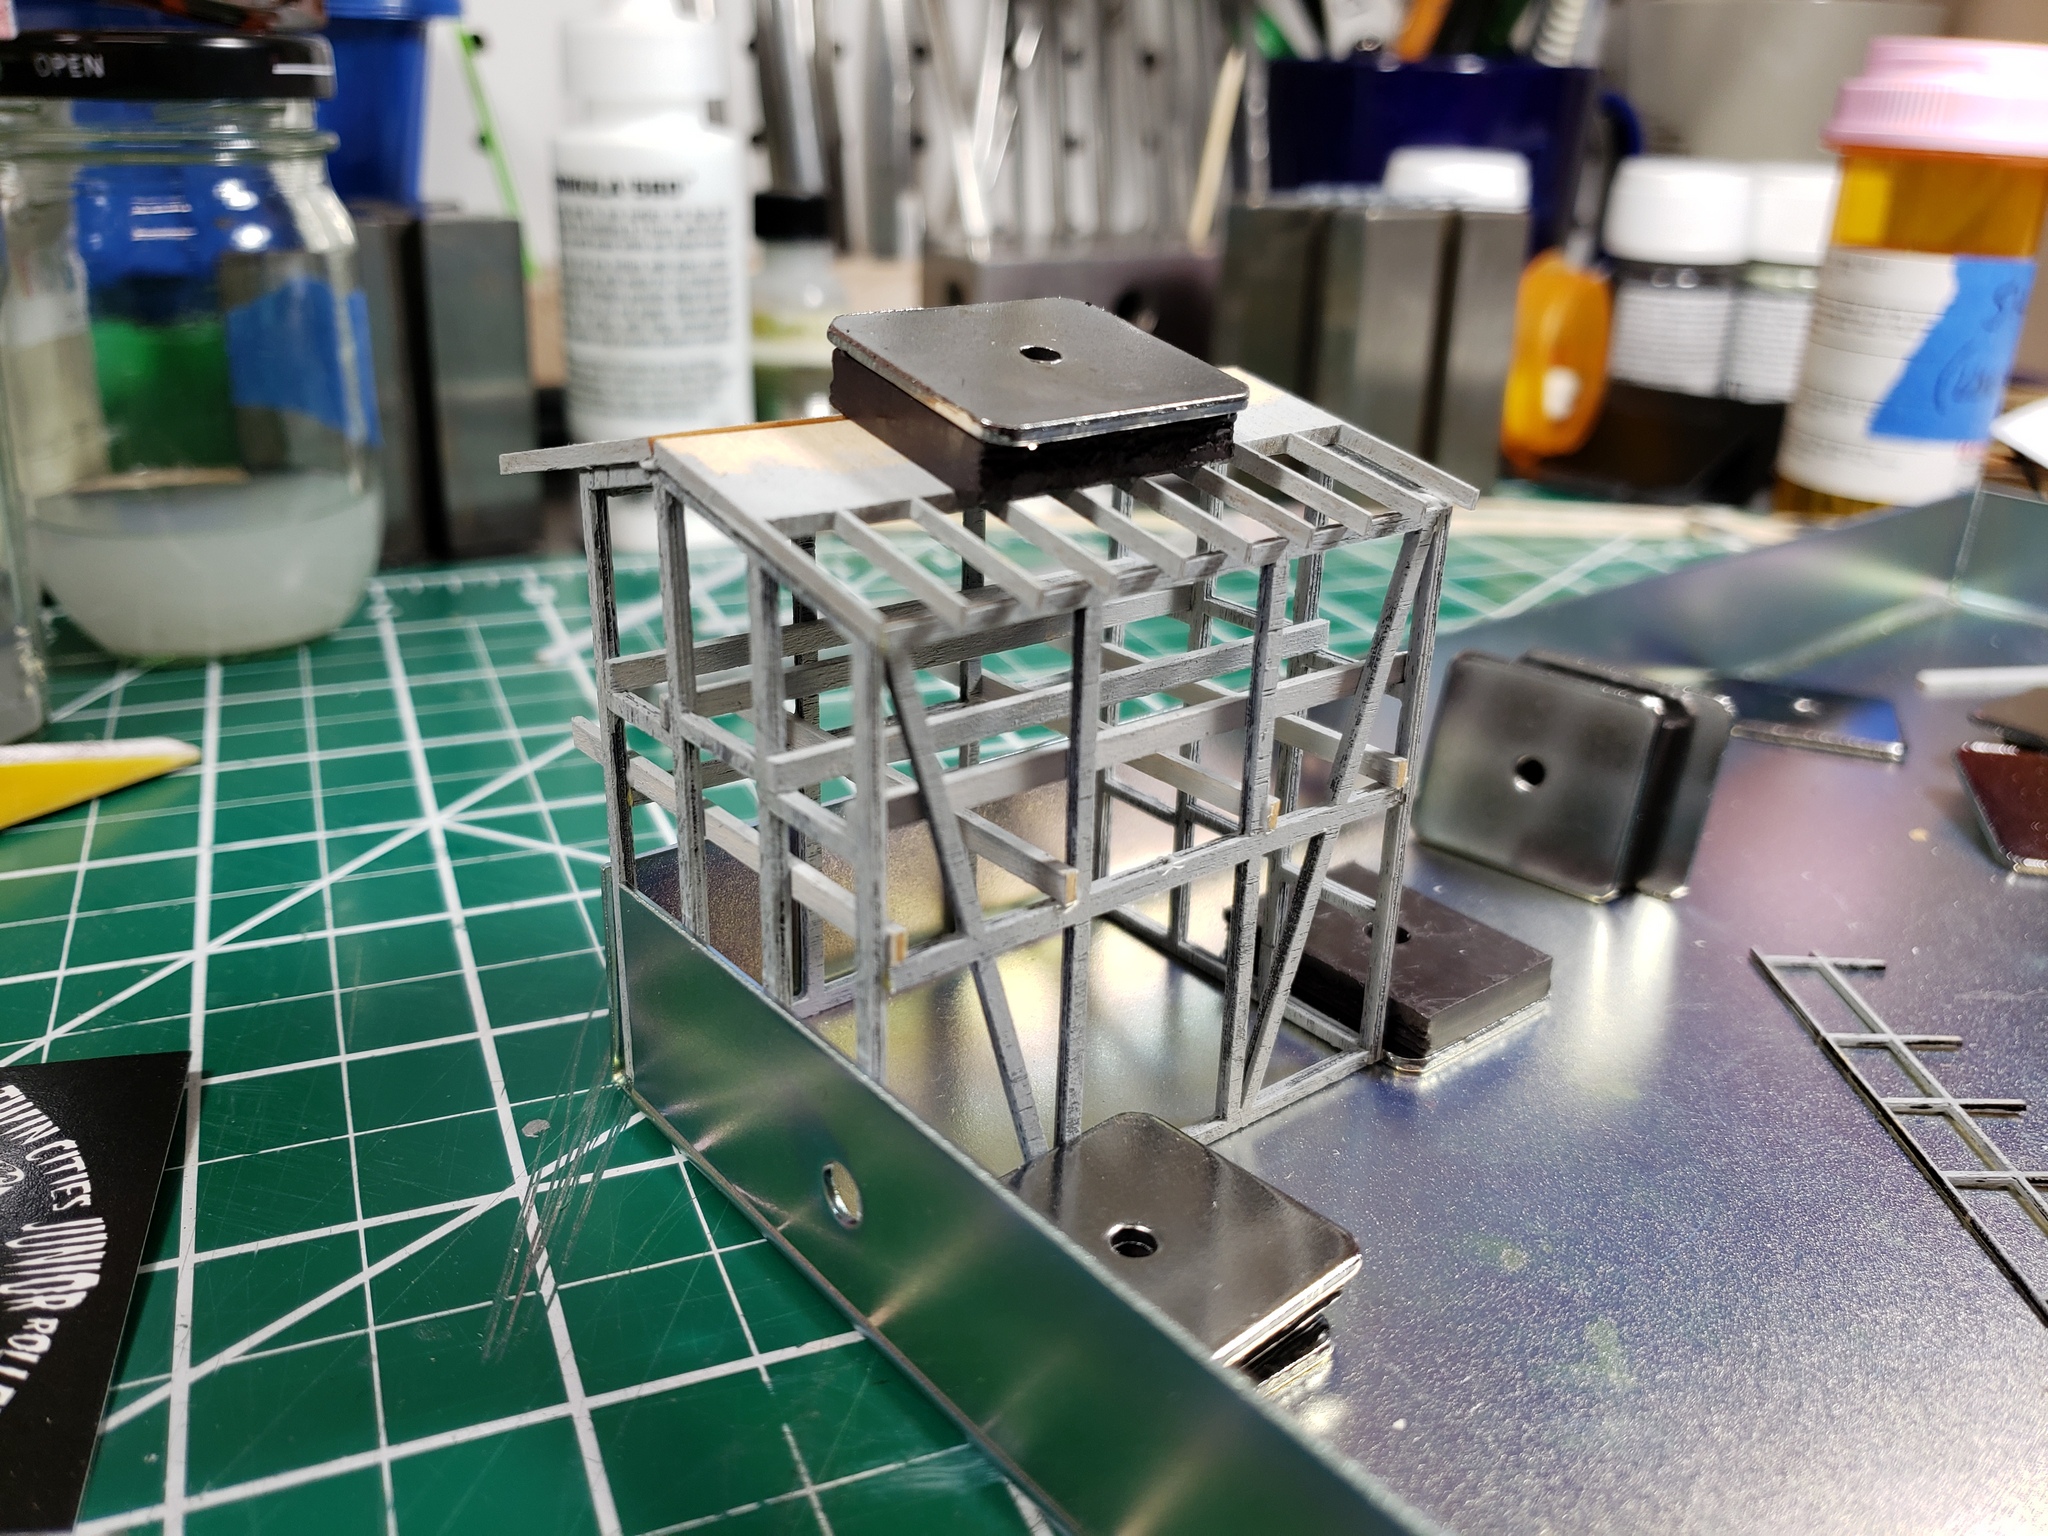
While that dried I started assembling the lumber rack. This was even more fiddly because there isn’t much glue surface. Adding the cross pieces and the roof went far in stiffening it up. This is where I ran into a standard issue with all the Bar Mills kit’s I’ve built – they don’t include enough strip wood for the build. I have an assortment of sizes and found some that would do the job, but it’s a little annoying that they don’t include enough material.
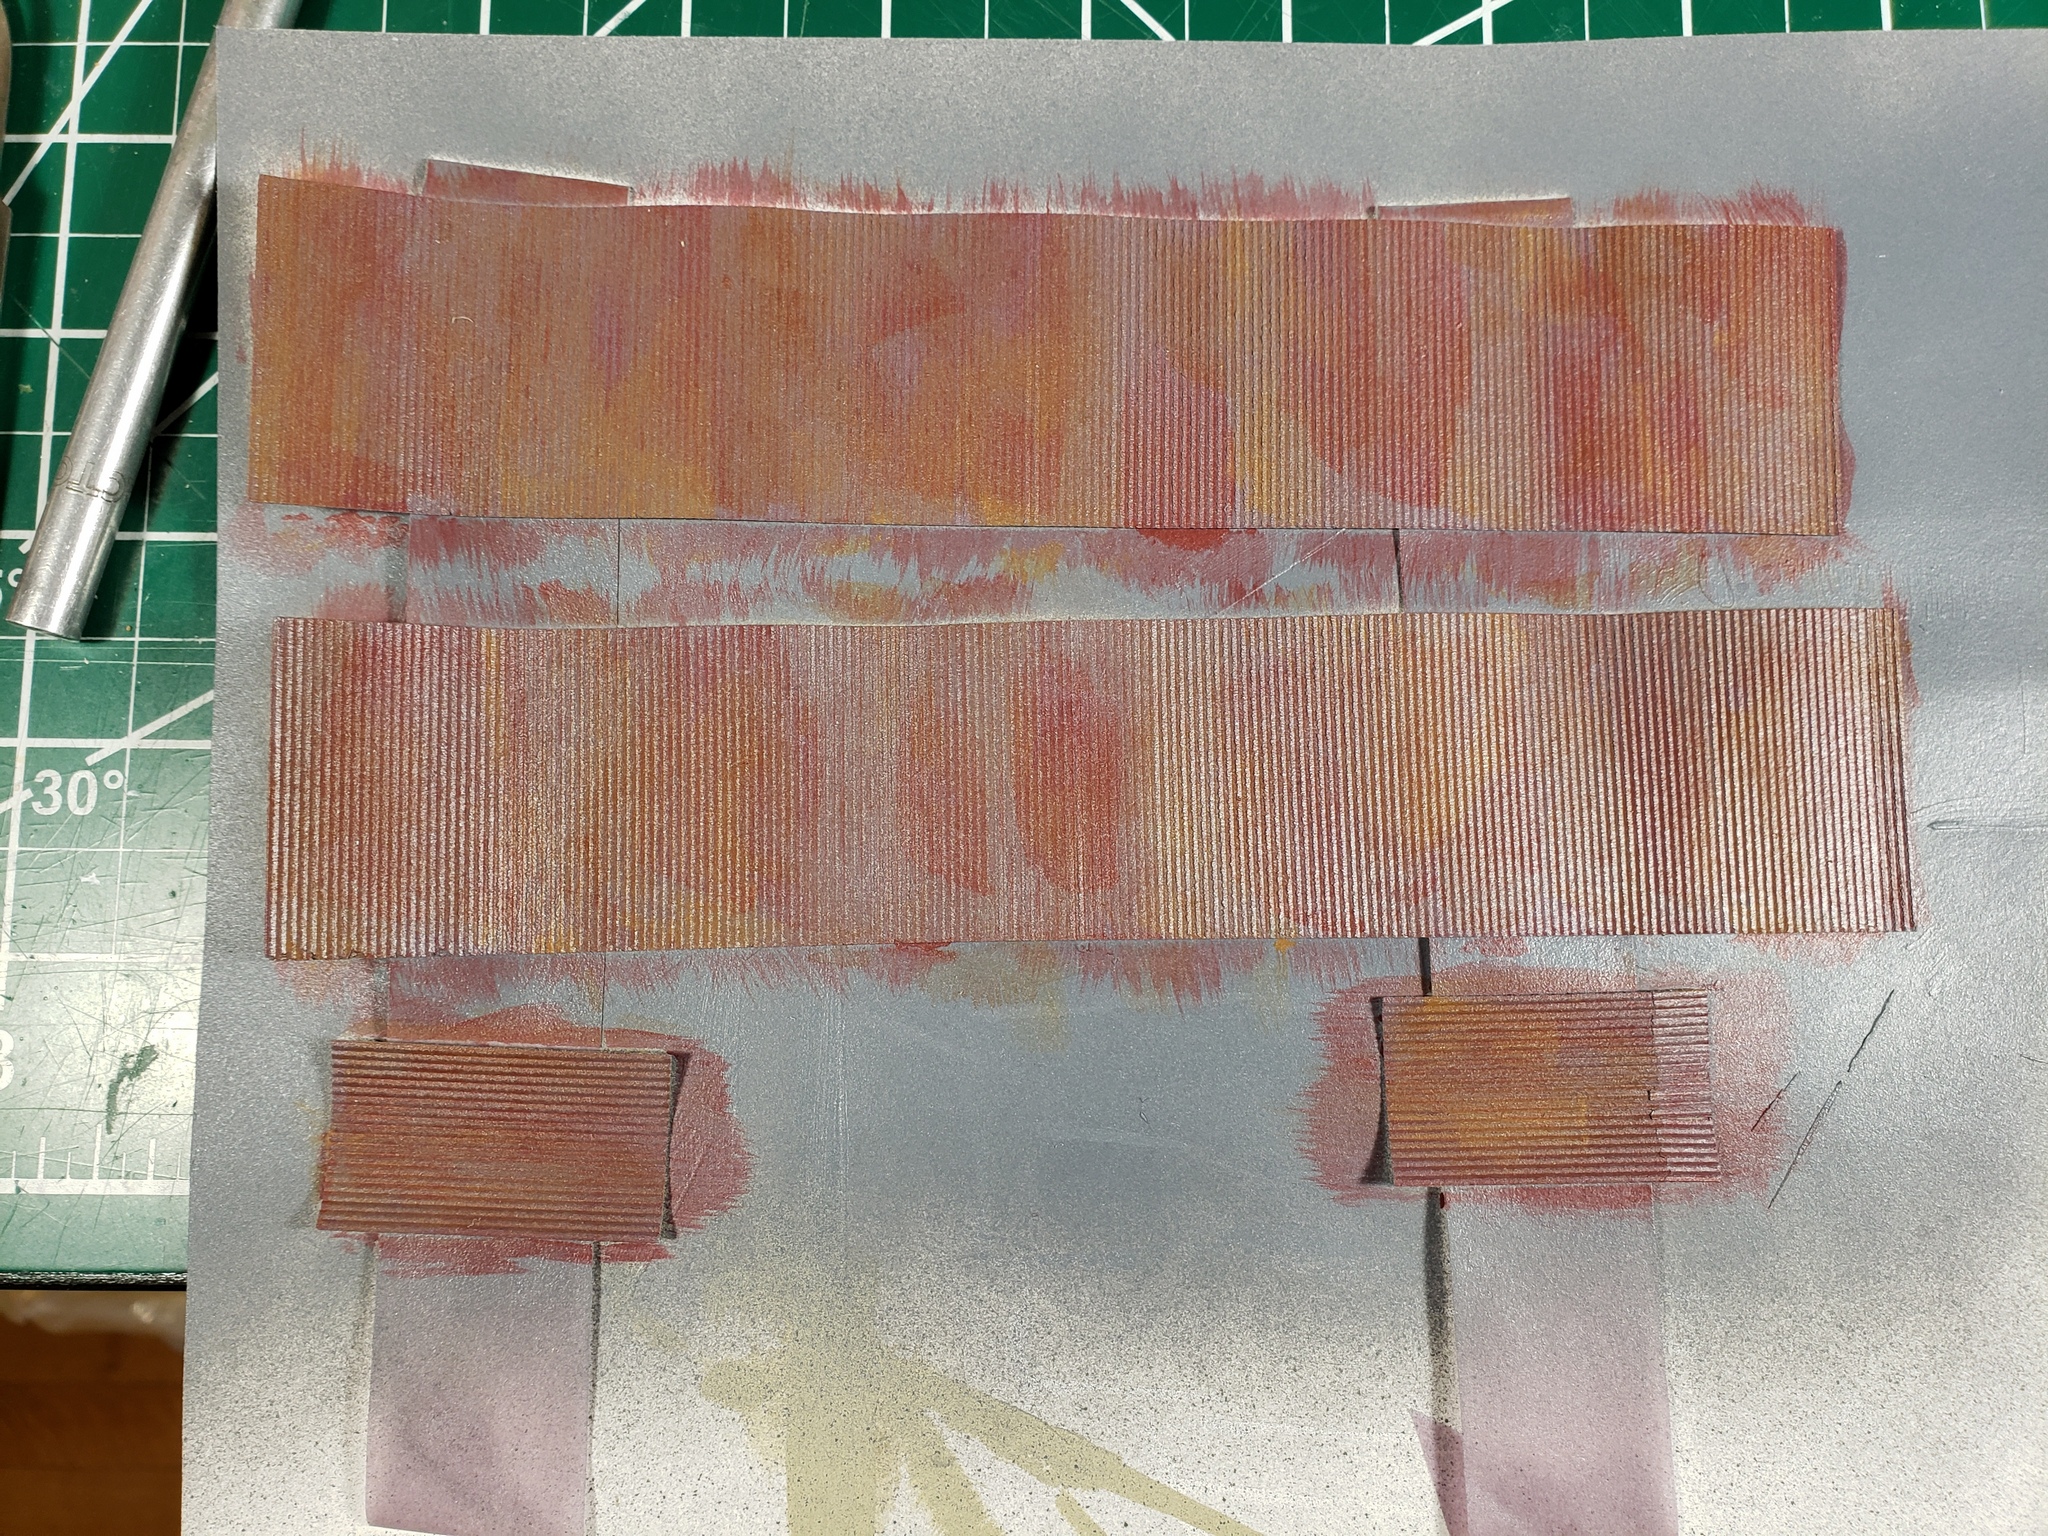
The roof material was something new for me. The first Bar Mills kit I built had printed paper that looked like rusty corrugated metal, but was flat. This kit came with some thick corrugated paper. So I primed it, then painted it barn red – lighter in some areas and heavier in others.
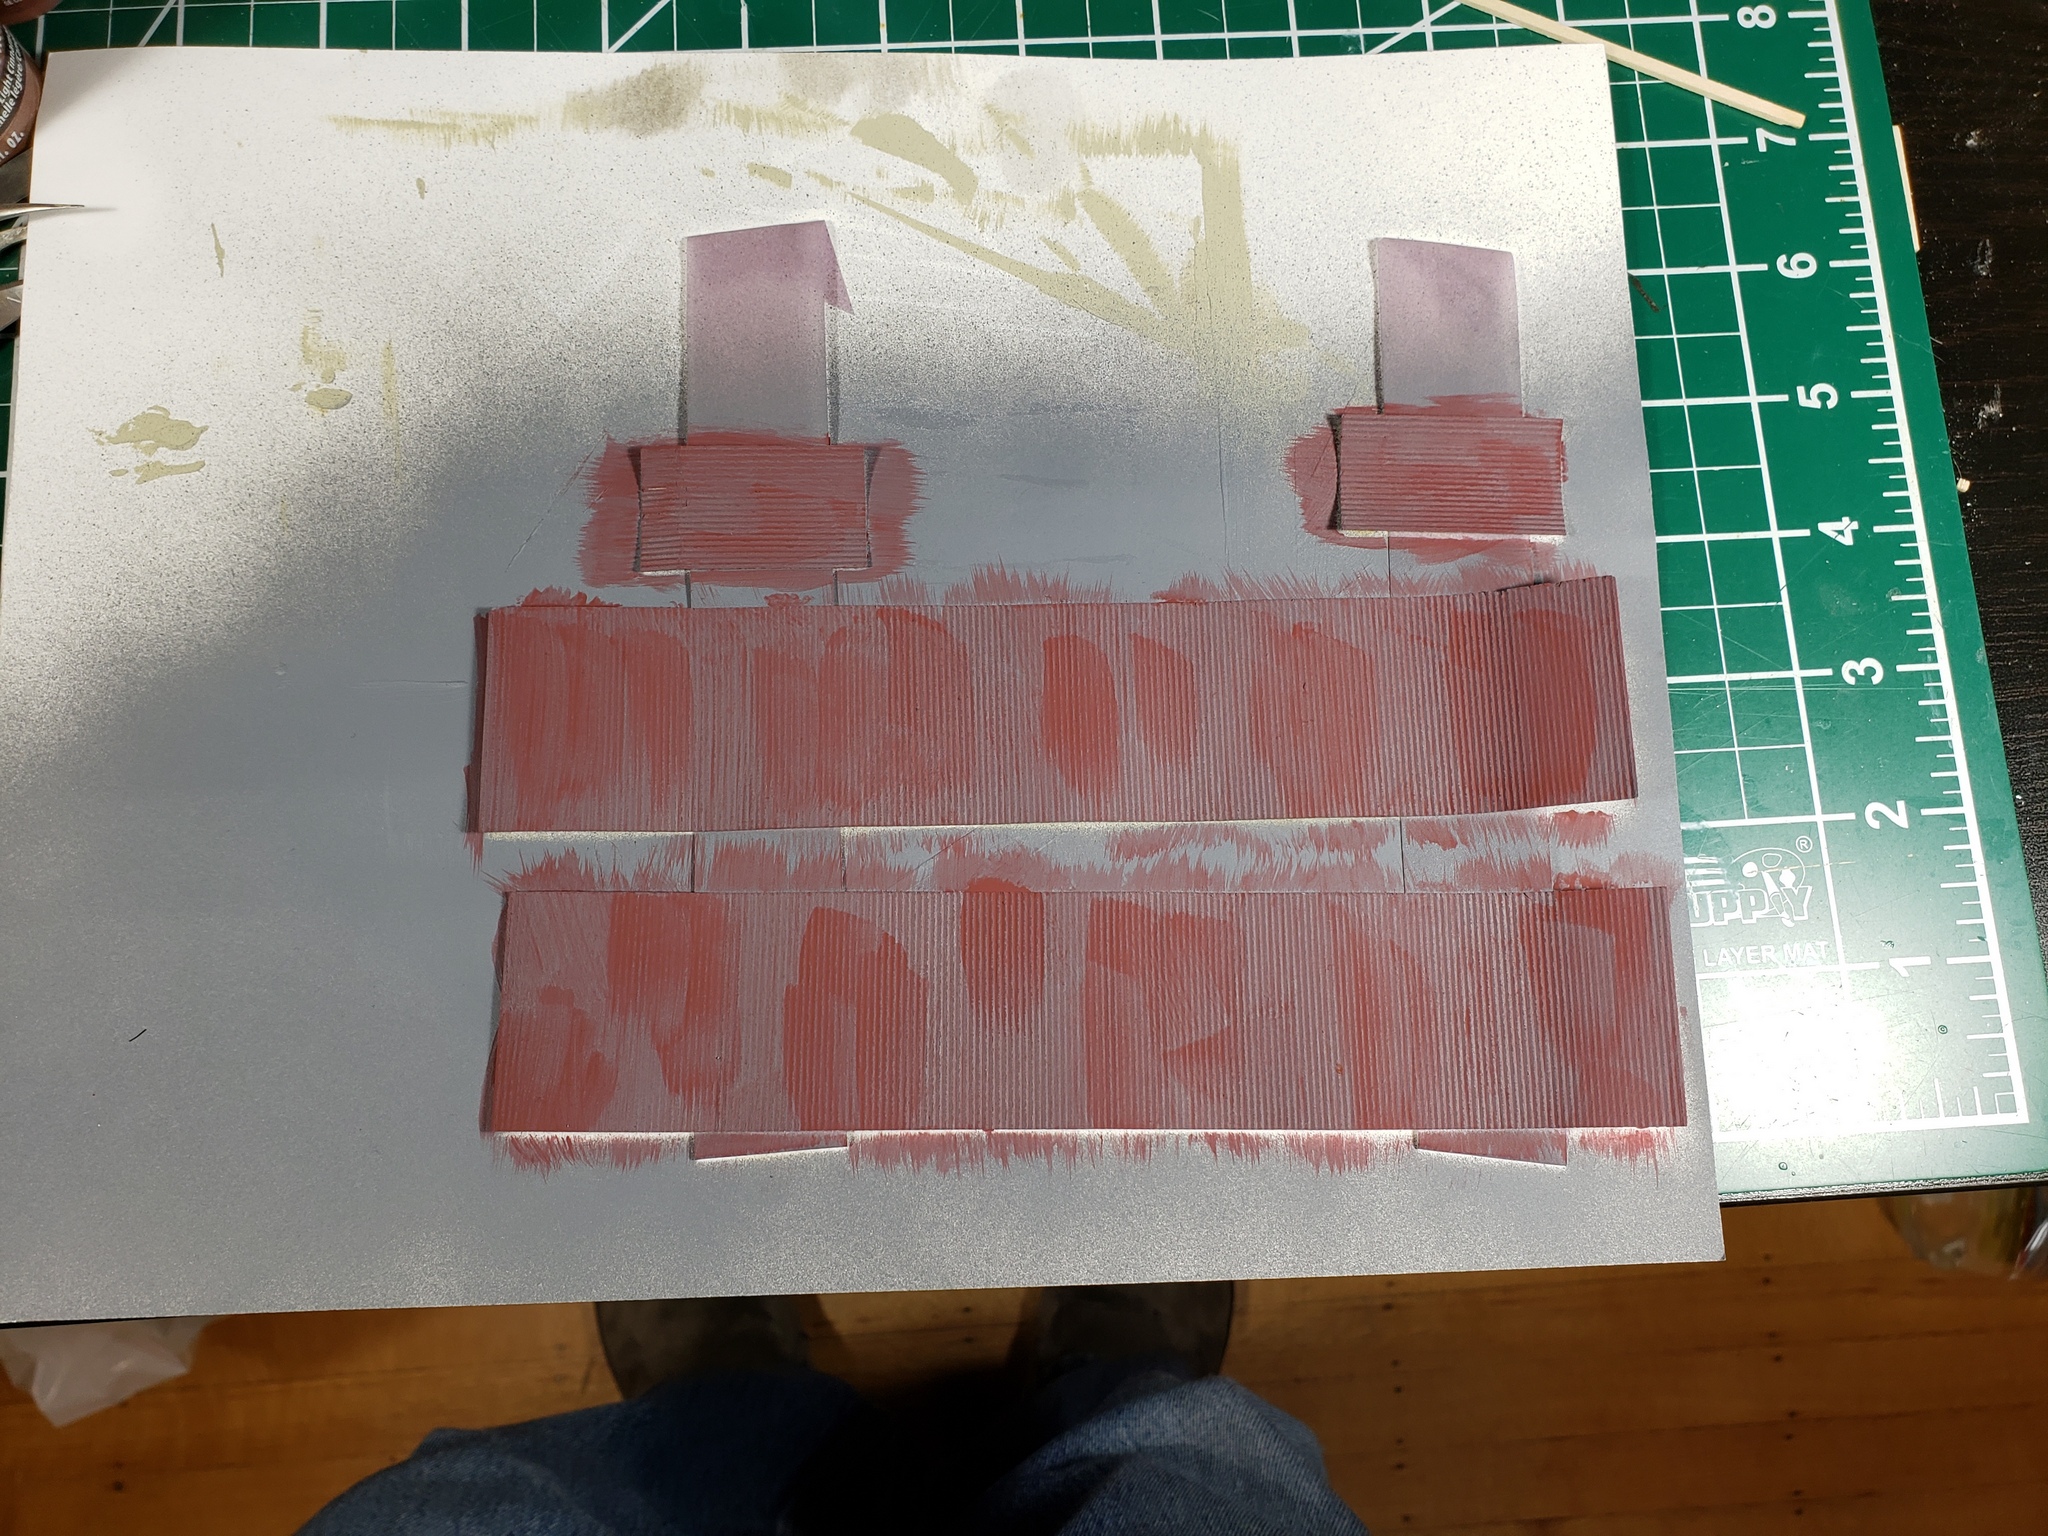
After that I brushed on some “rust” using light cinnamon, burnt umber and raw umber paint. After that I hit it with some Rust-Oleum Dead Flat, but I didn’t like the way it looked – it tends to spray rather large droplets. So after that I sprayed it with some matte acrylic clear I have. That also sucked. This is what it looked like – not very flat and it lost a lot of rust.
I decided to just install it and weather it some more afterwards. I used some chalks and then hit it with Model Master flat and it looks pretty good now.
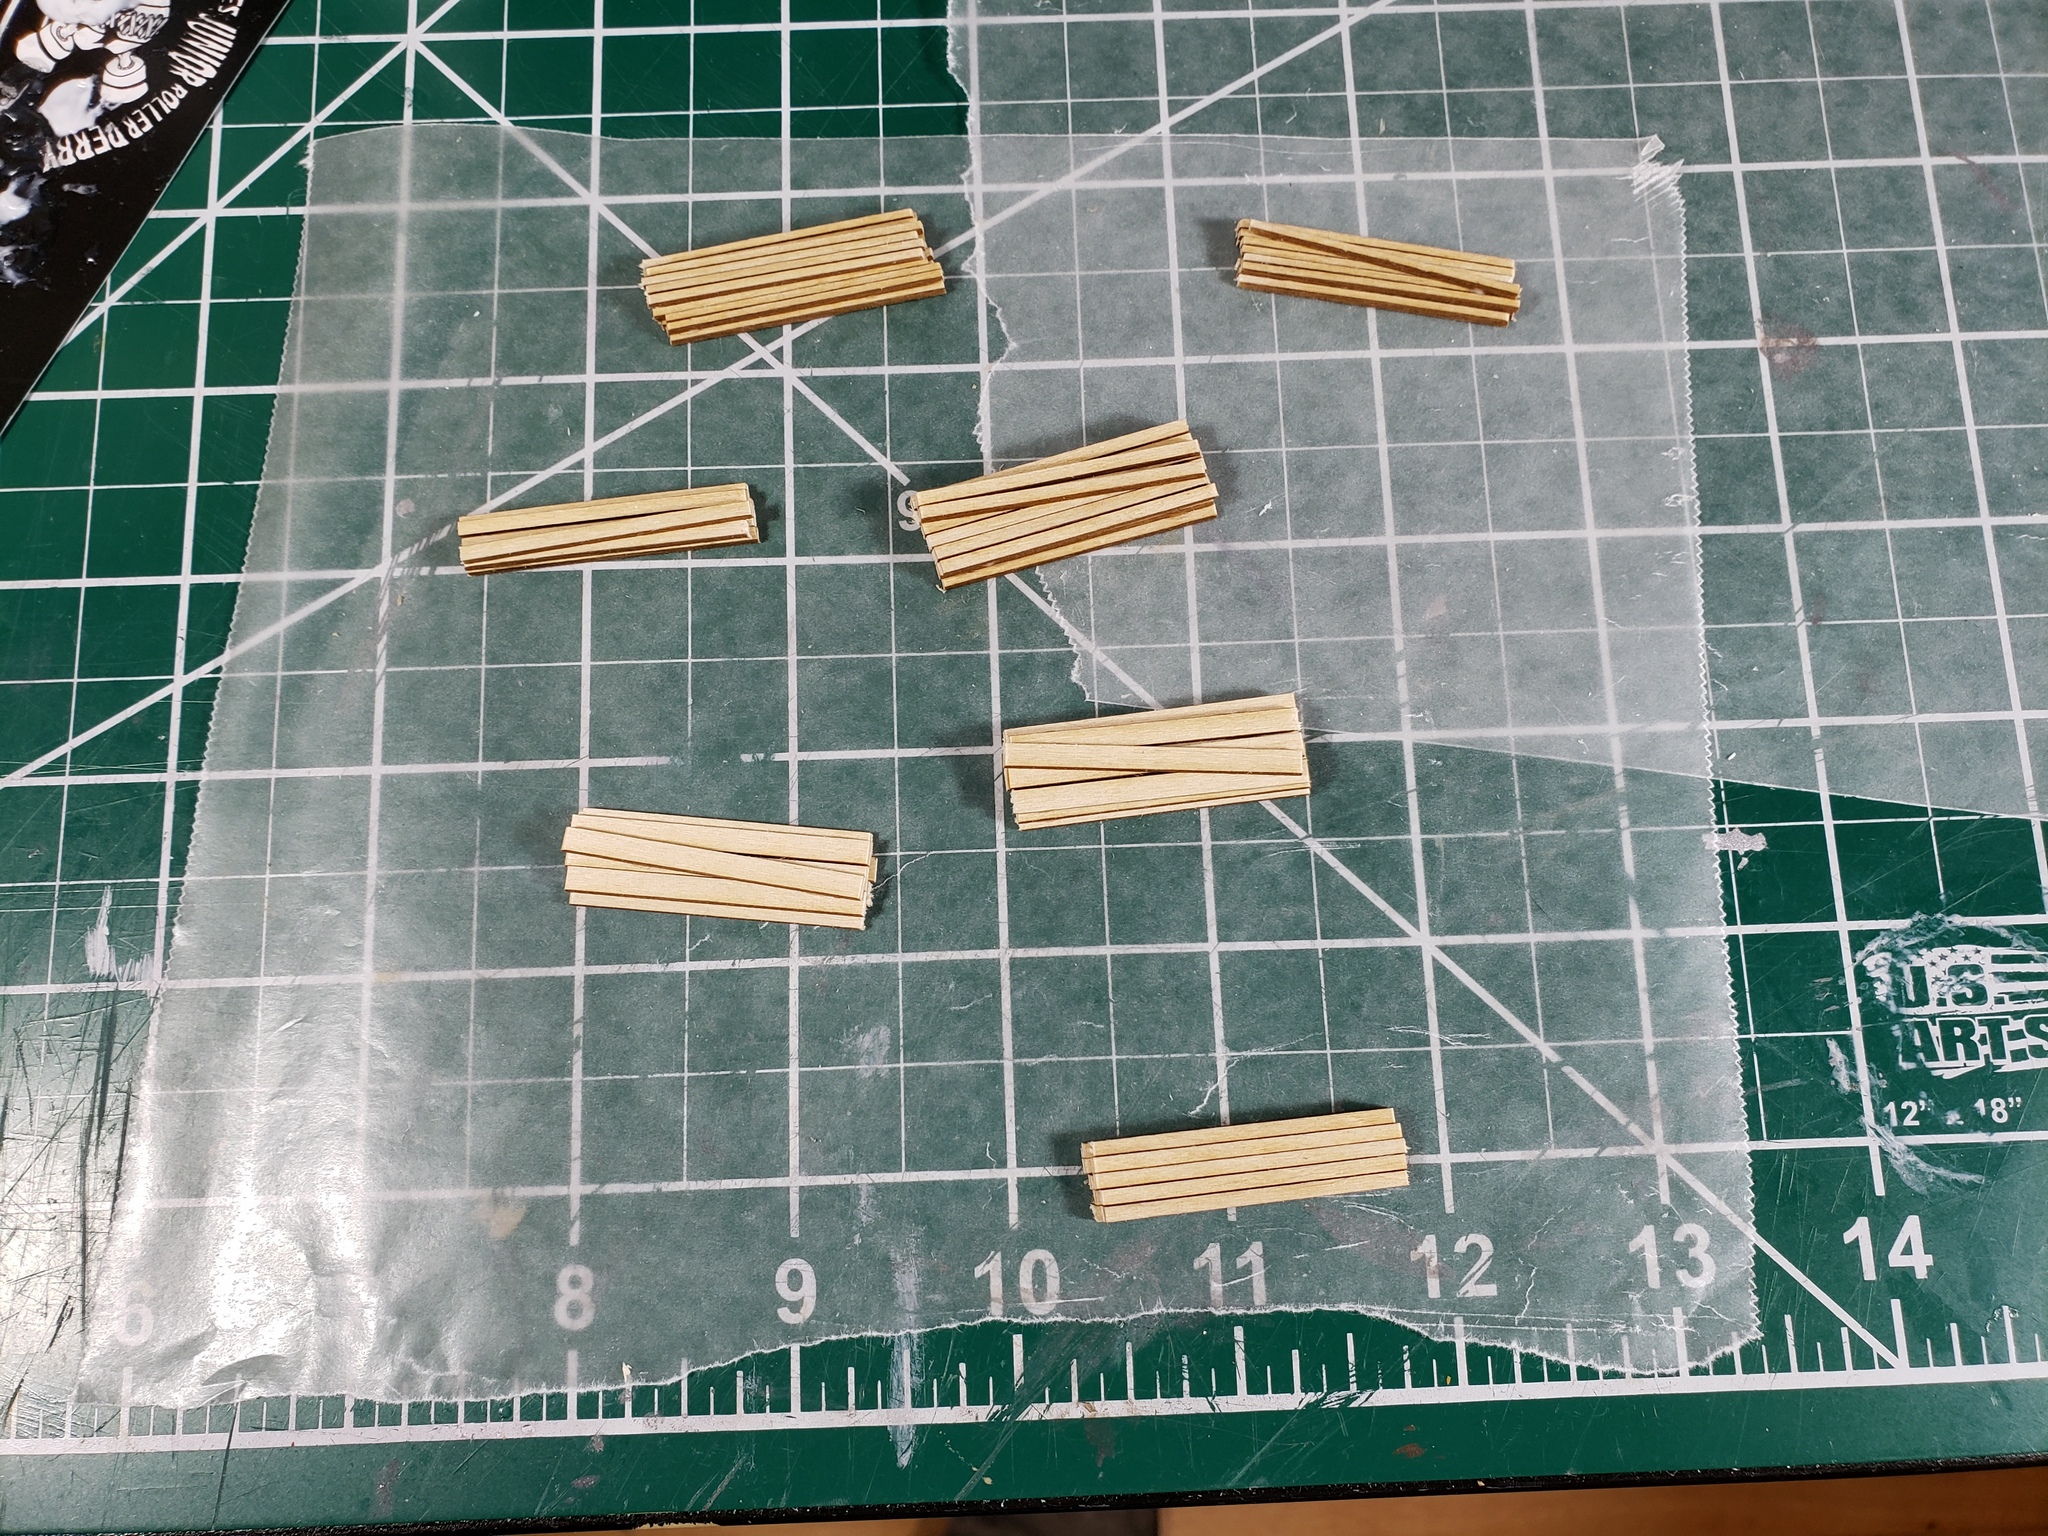
While that paint was drying I assembled the lumber piles for the rack. I thought it would be simpler to build them off the rack and then install them.
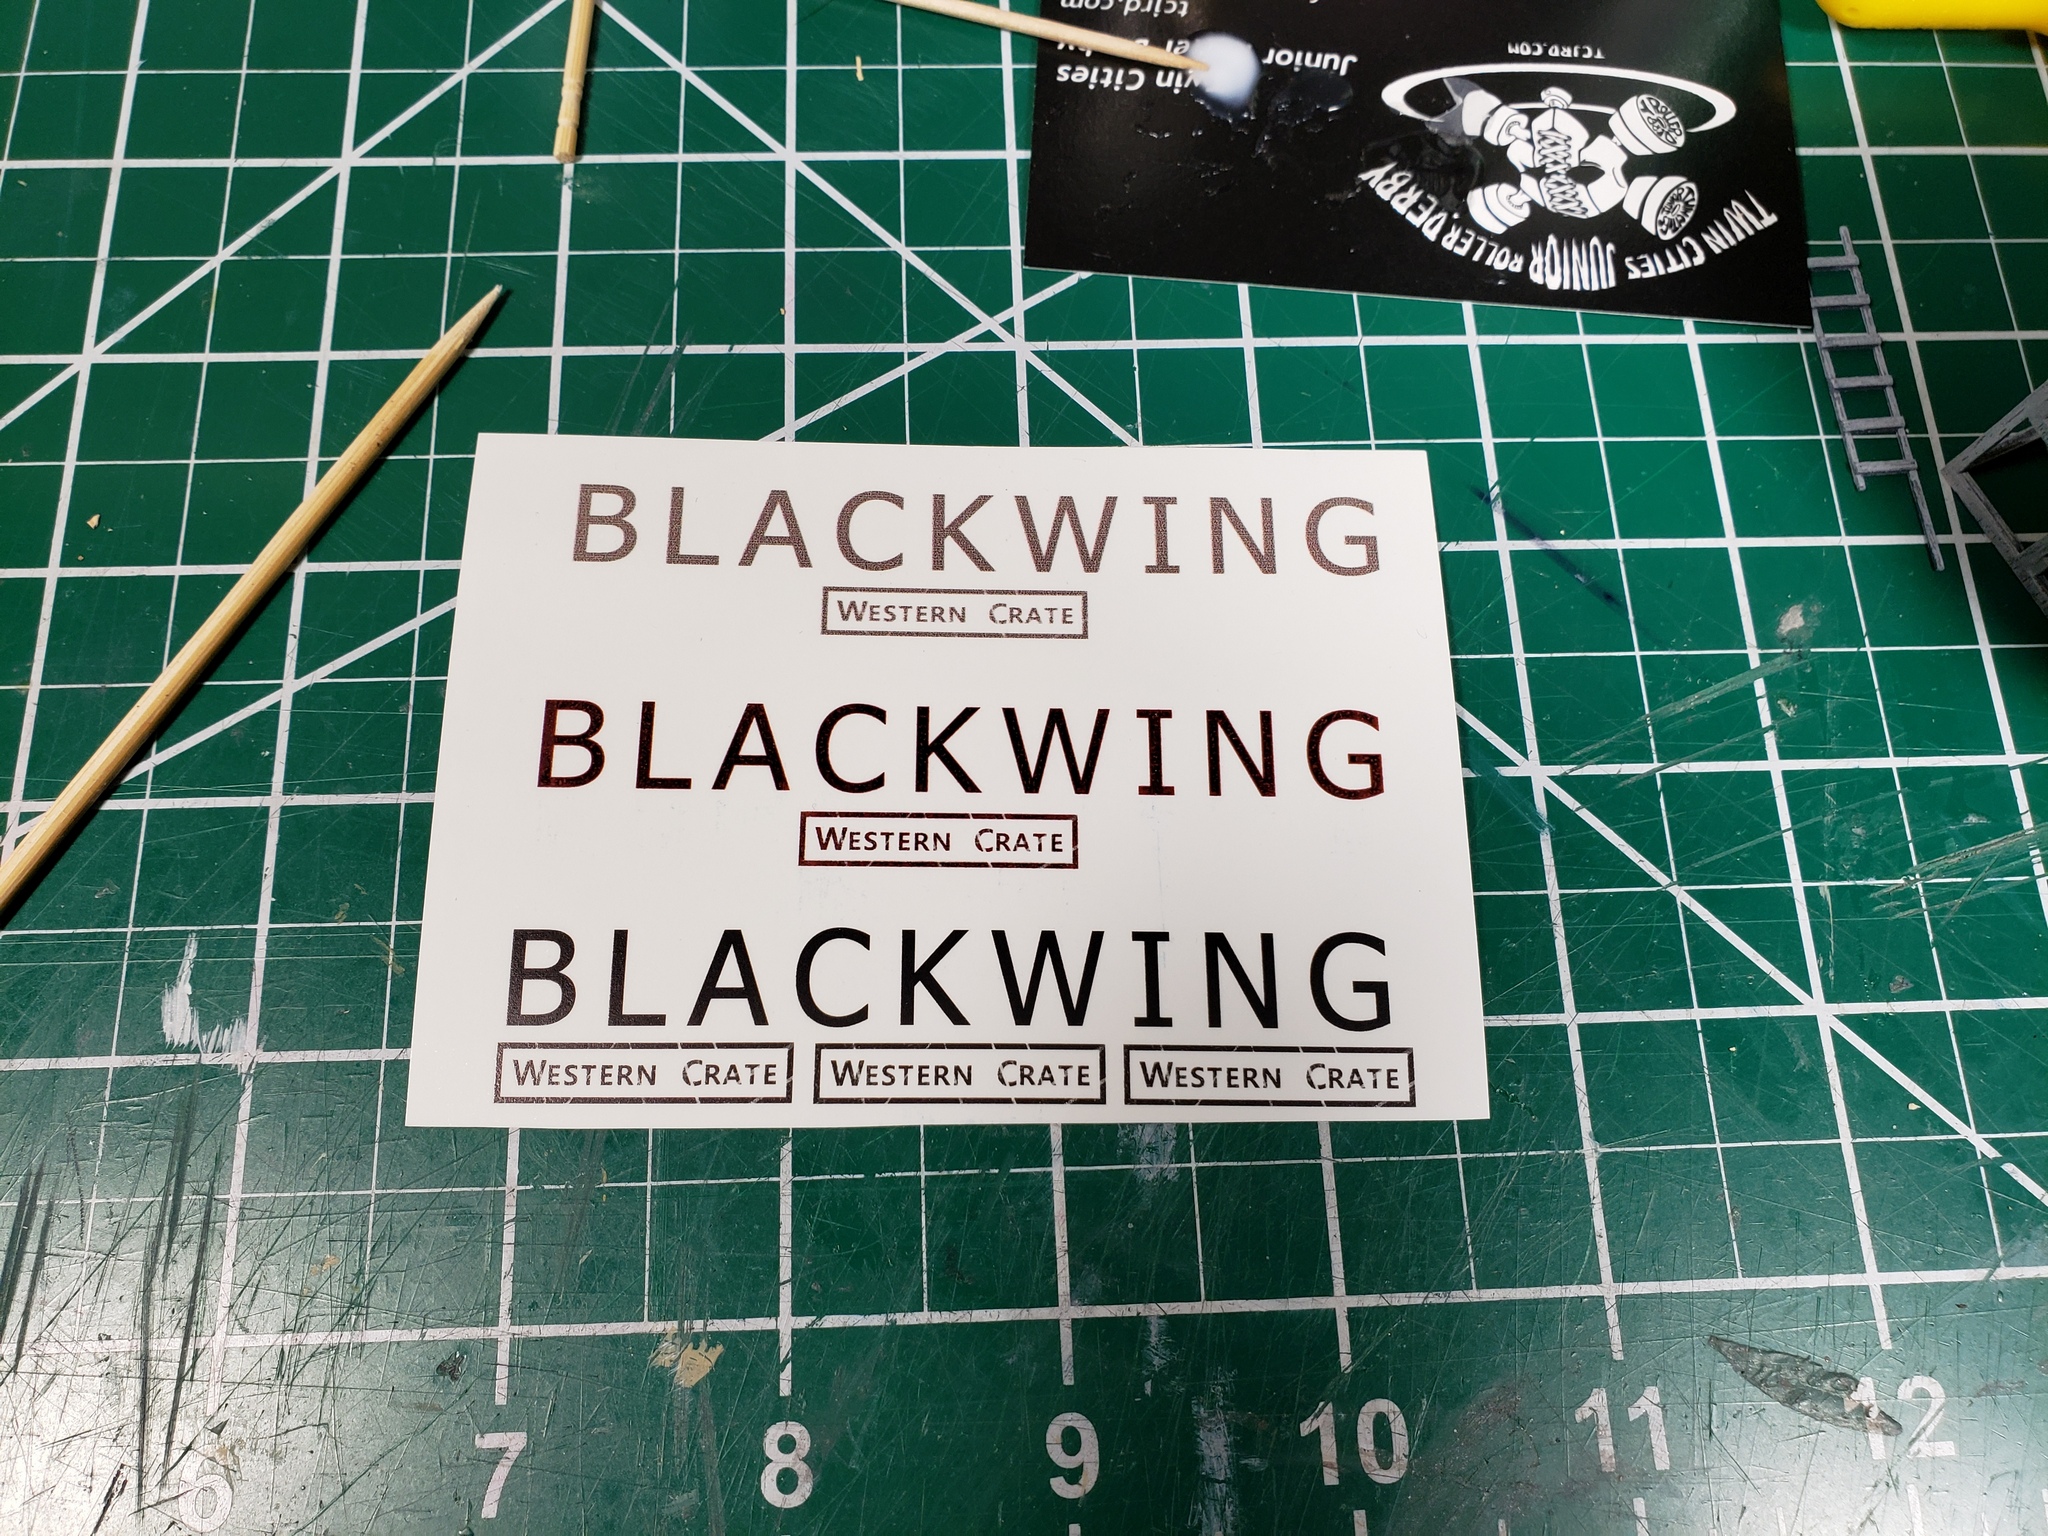
I also created my first custom decals using the Micro-Mark decal paper and my ink jet printer. They turned out okay, but that was a learning experience. The large “Blackwing” is to put on the water tower. The first two purplish prints are testing different settings on the printer.
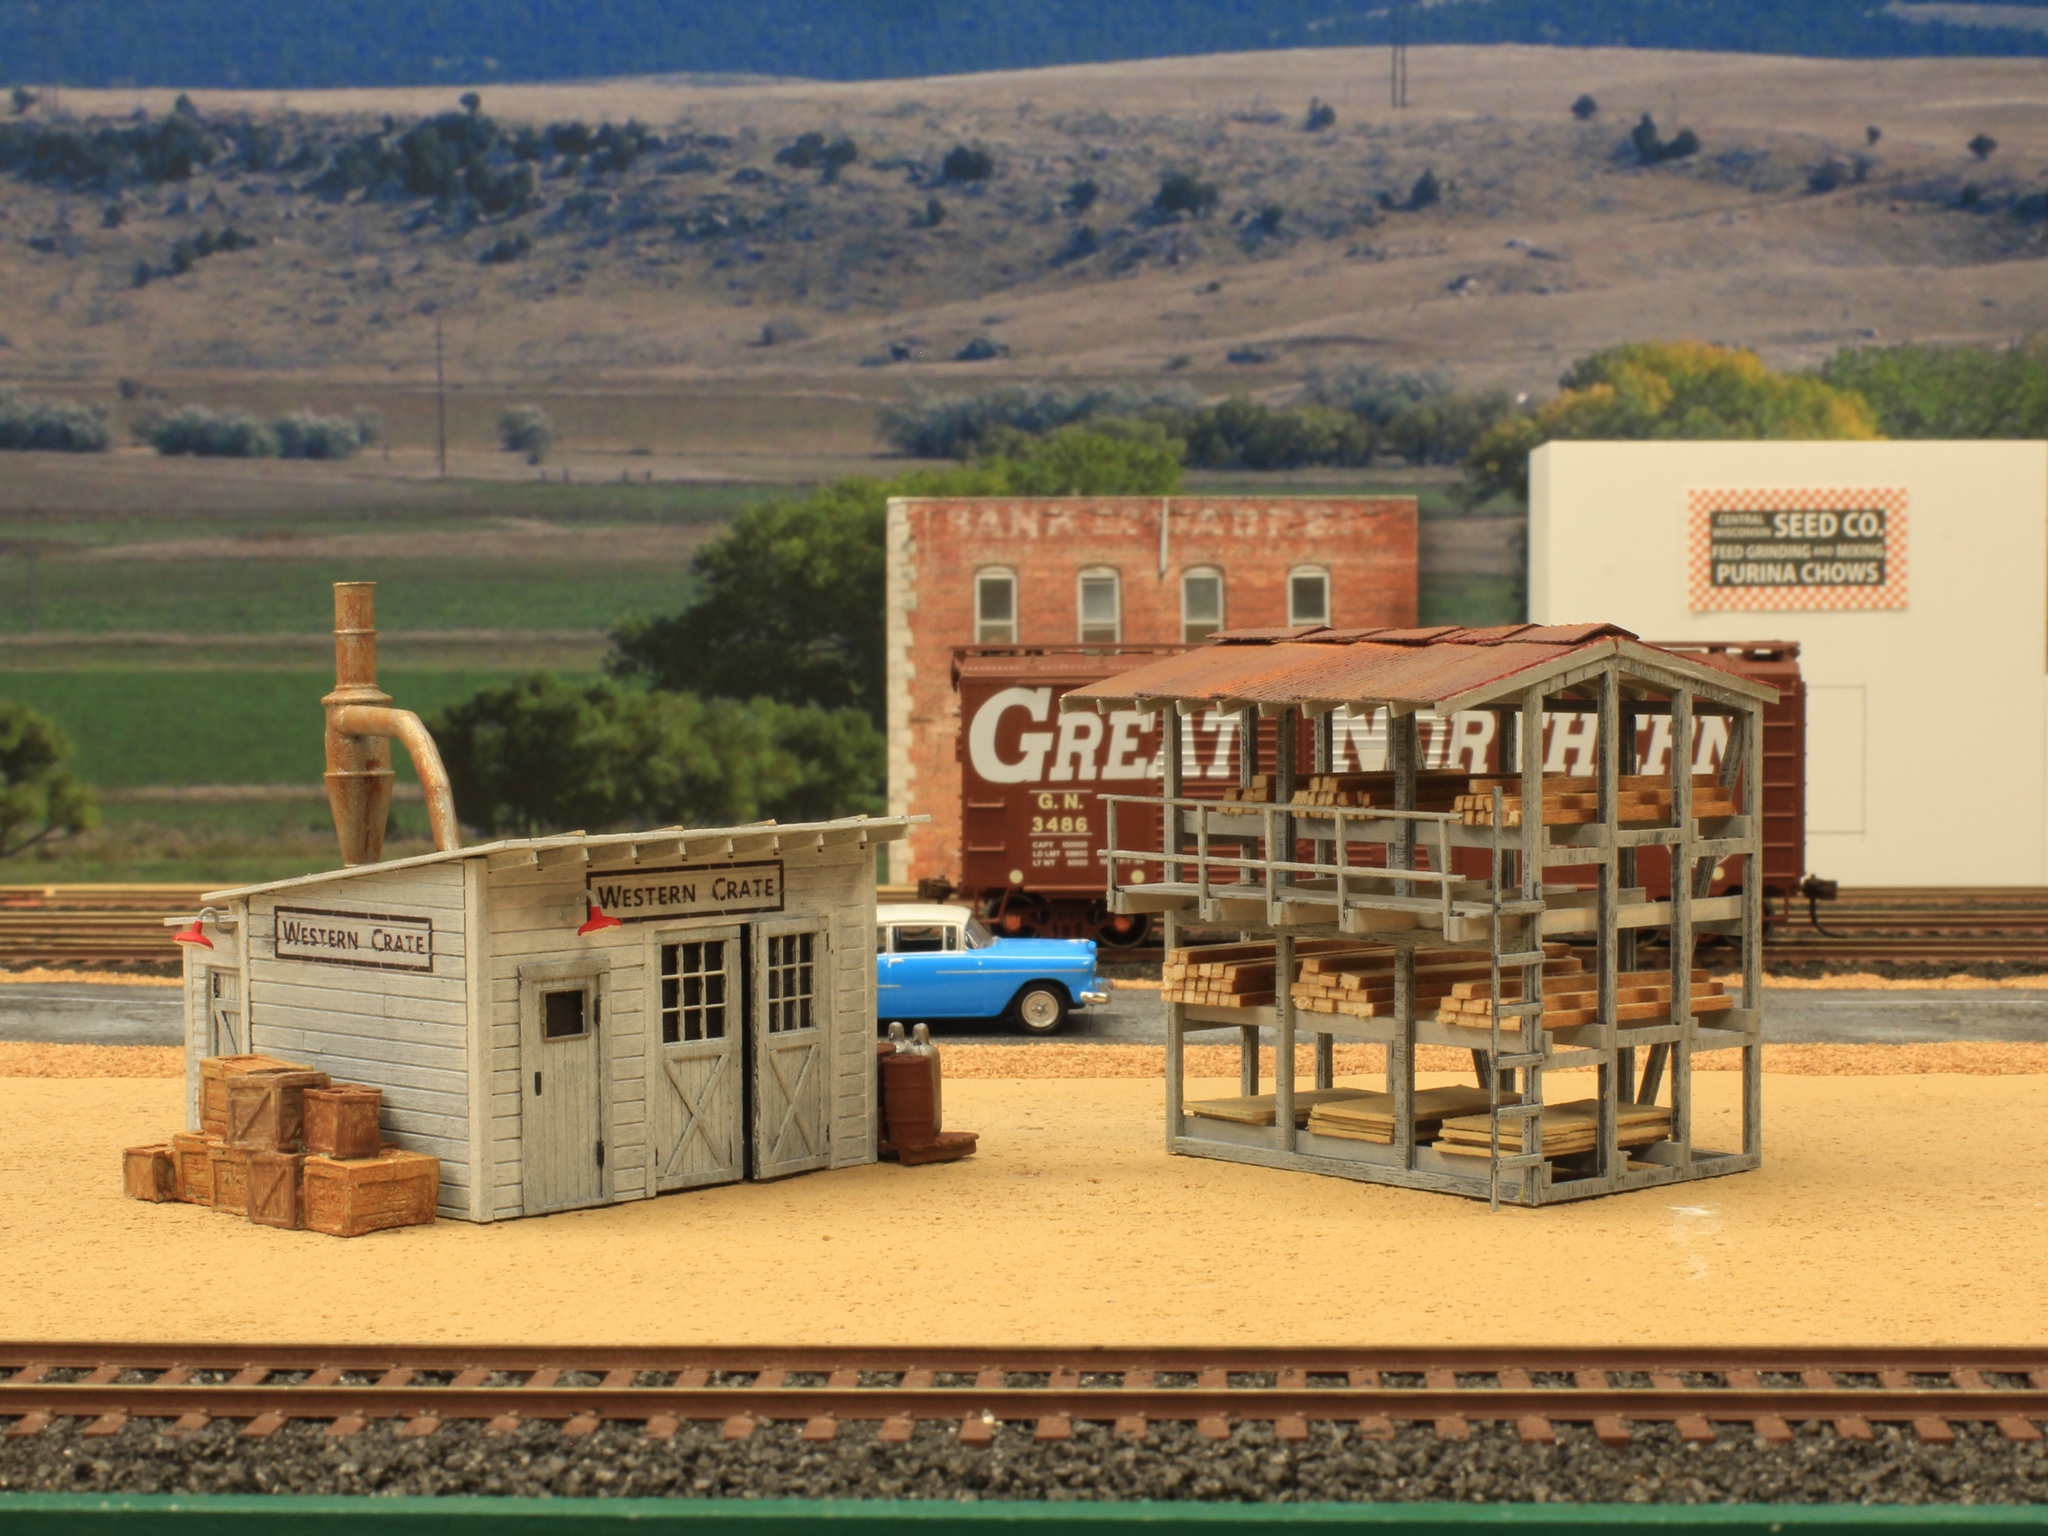
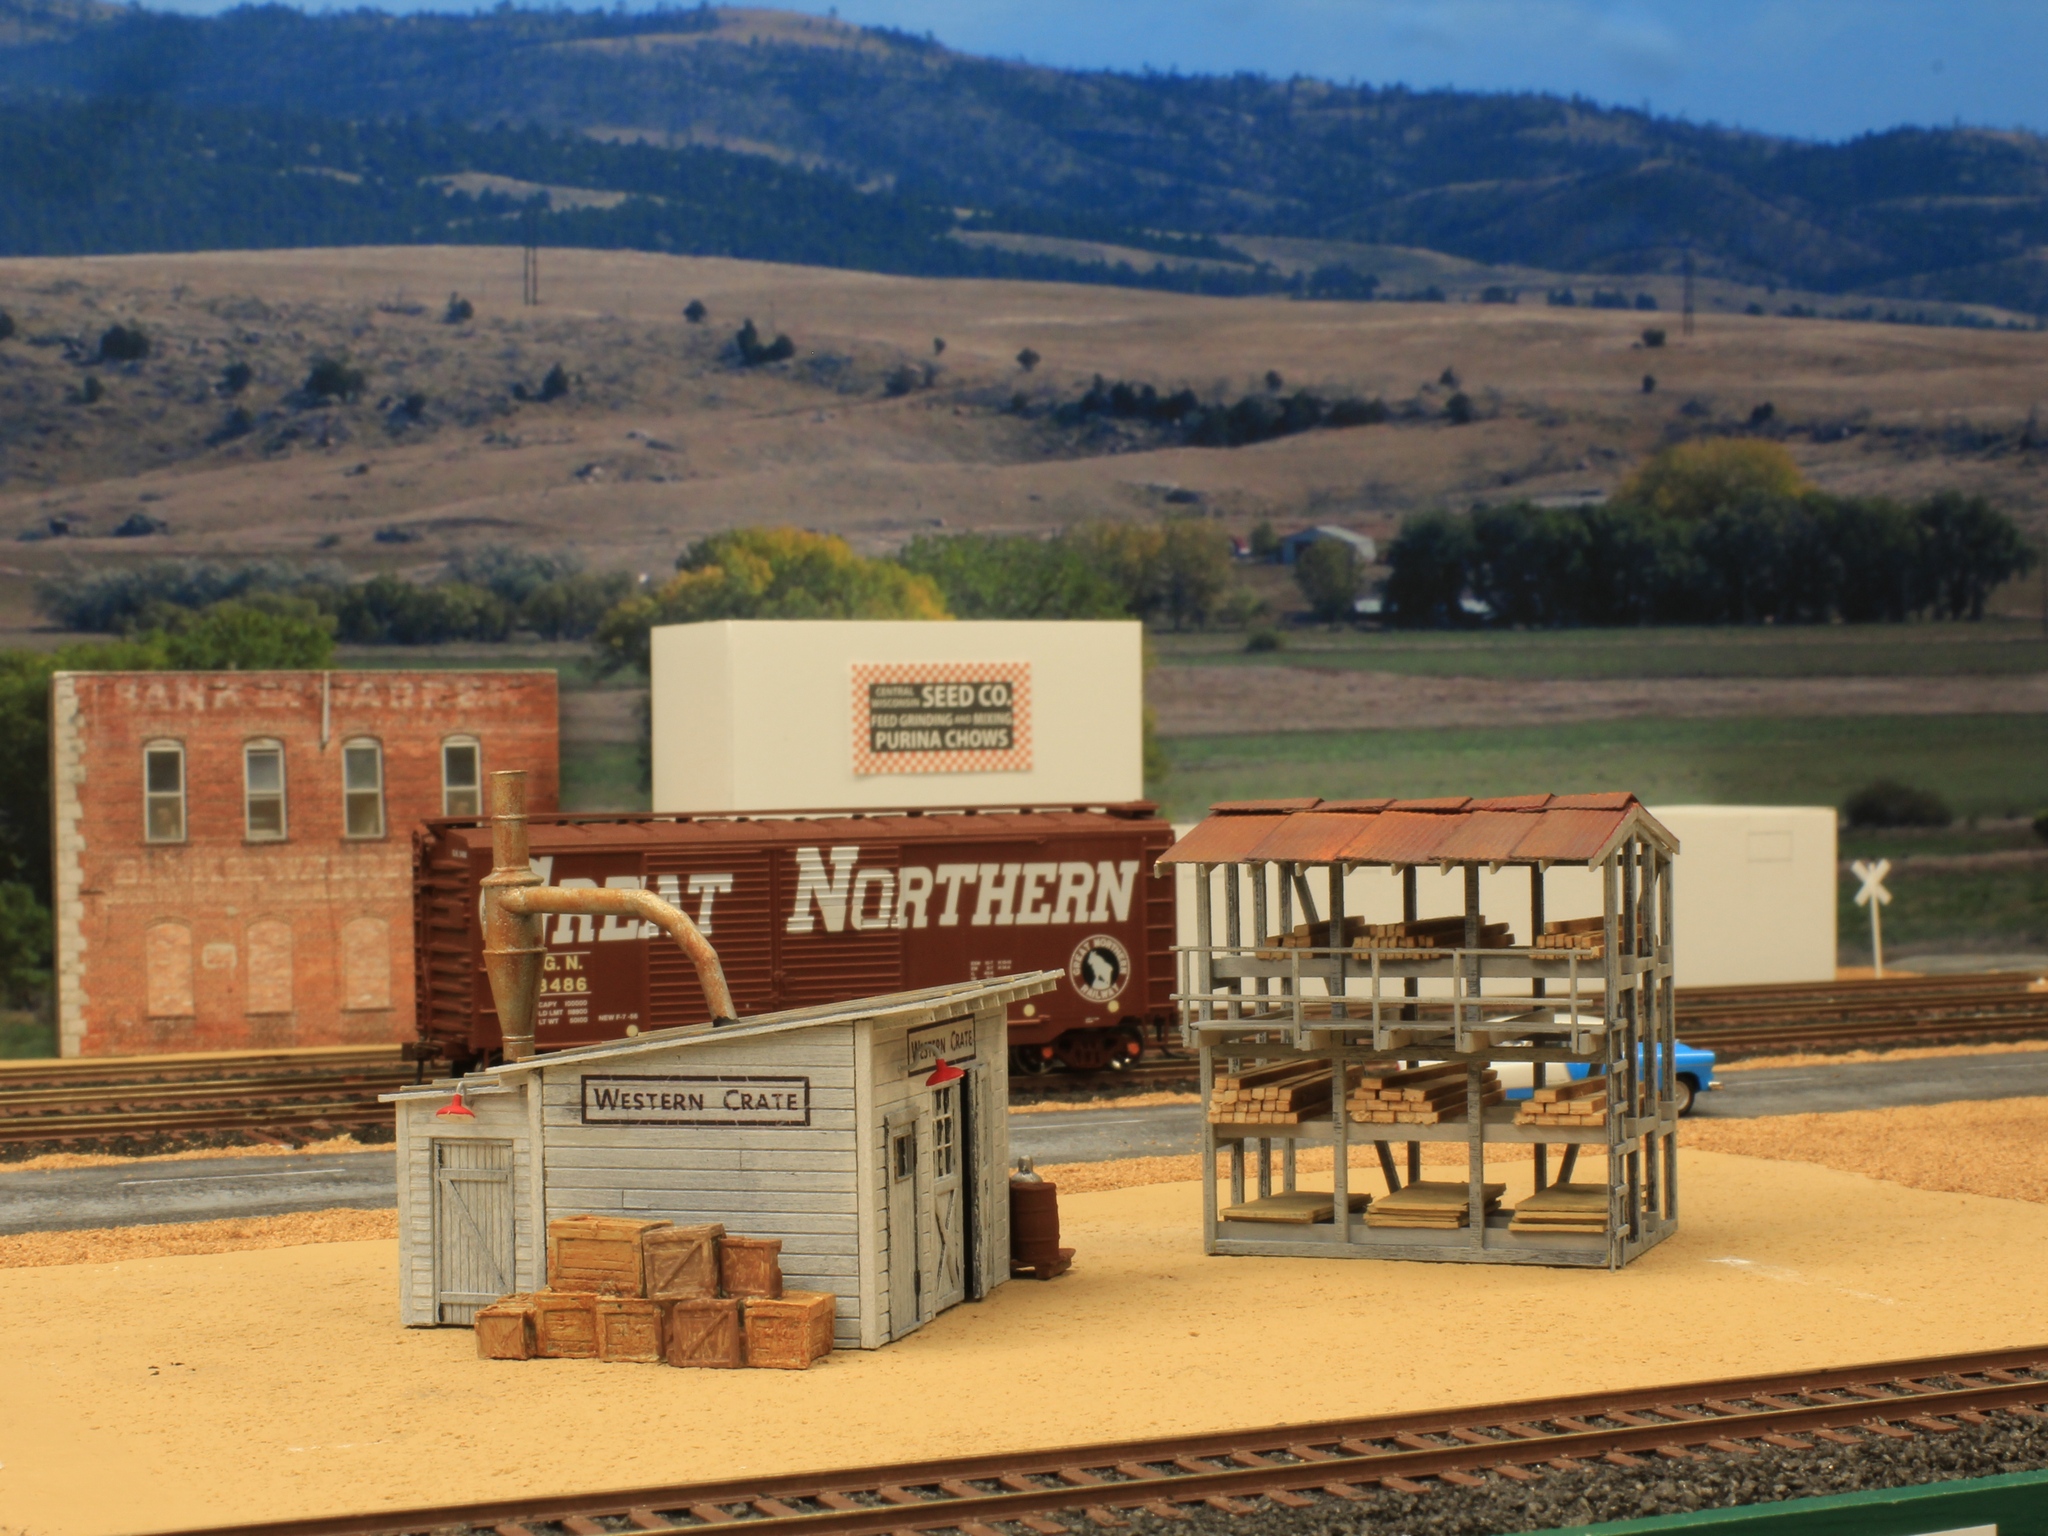
After adding the decals, painting and installing the dust collector (correctly, not like the instructions which are backwards) and painting the other details, we have Western Crate.
Not sure where on the layout it’s going to go yet, but it’s a nice little model.
Nice build, Tim. A member of our Associated Railroaders of Kingston often shows us kit builds he’s done using Bar Mills kits and he’s always impressed with them. Too bad there are still some niggling shortcomings, but the finished product will look great in a place of prominence on the layout!
Eric