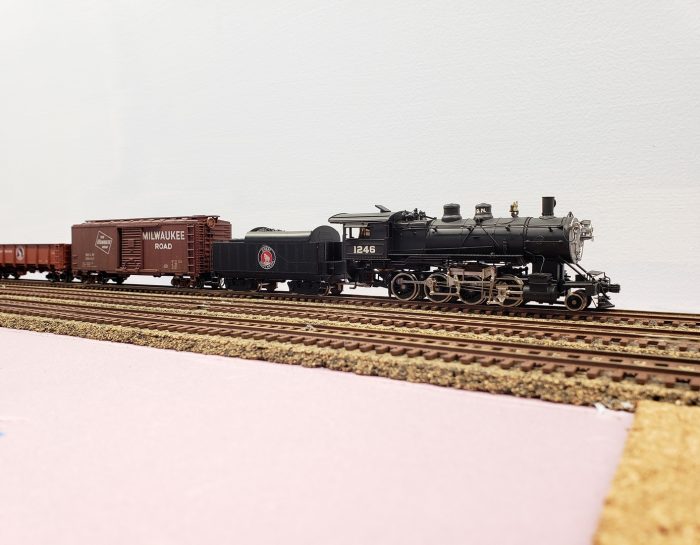
I bought an old Tenshodo brass model of a GN Consolidation on eBay when I started getting back into model railroading. Back in the 80’s Tenshodo brass models from Japan were really something. I couldn’t really find any current offerings that really matched what the GN Consolidations looked like – mainly because none of them had the distinctive Belpare firebox hump. The Tenshodo model is a pretty good replica and has pretty good detailing. It wasn’t a super-good deal, and it’s not in the Glacier Park paint scheme (that one went for too high of a price) but I can always buy another one later.
In any case since this model is from some time in the 80’s or 90’s it needs some updating. The motor is an inefficient open frame style and of course it doesn’t have DCC. So I found a can motor with a flywheel on eBay that would fit, and bought a SoundTraxx Tsunami-2 steam decoder. What follows are pictures and descriptions of installing them.
Step one of course is to take the model apart. I removed the boiler to see what was what.
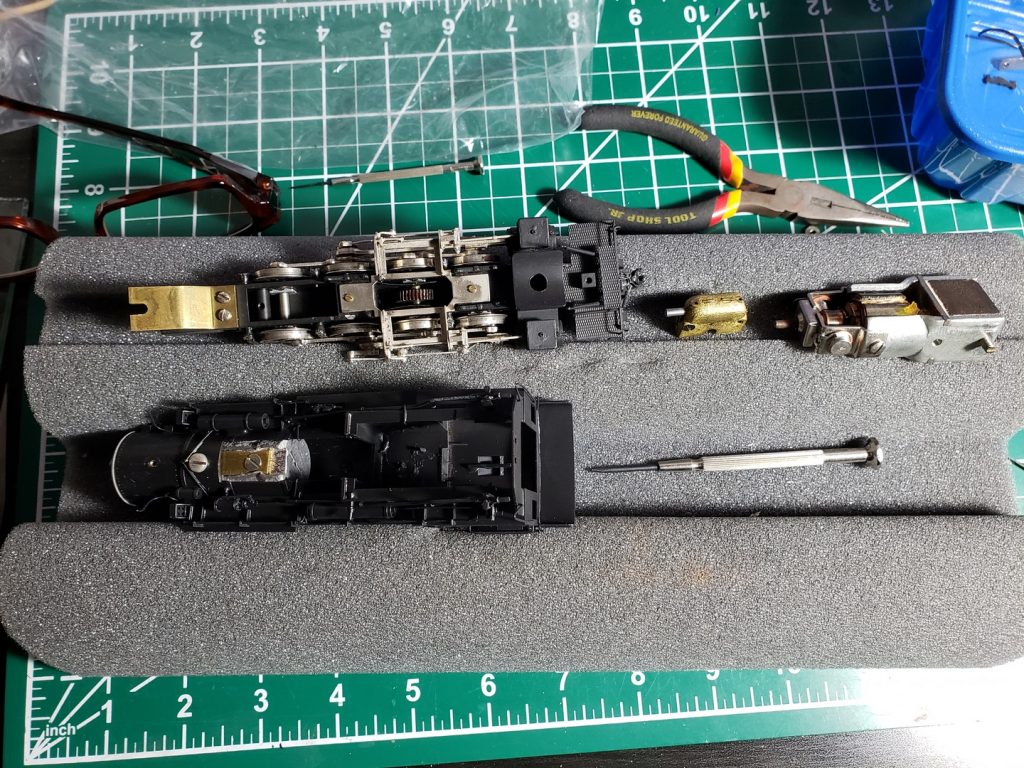
I probably should have replaced the gear box while I was in there, but the gears looked okay and NorthWest Short Line has sadly gone out of business. They were the premier source for gear boxes and other re-motoring parts. I also didn’t really want to have to press off the wheels and then re-quarter them since I don’t currently have the tools to do either of those steps. NorthWest Short Line was also the best source for those tools.
In any case I cleaned up the gears and re-lubed them and decided they would do for now. I can always go back in and replace them later if I decide it’s worth the effort. Onward.
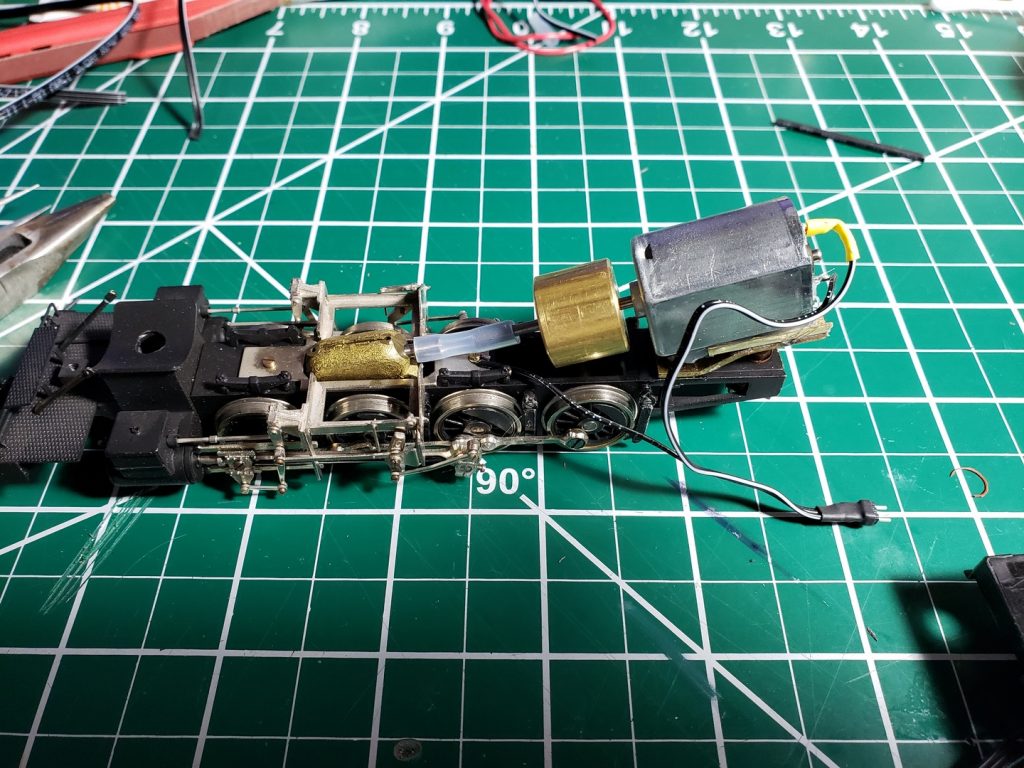
I needed to make a motor mount for the new can motor. I decided to solder some 1/4″ brass angle onto the existing mount and attach the motor to that.
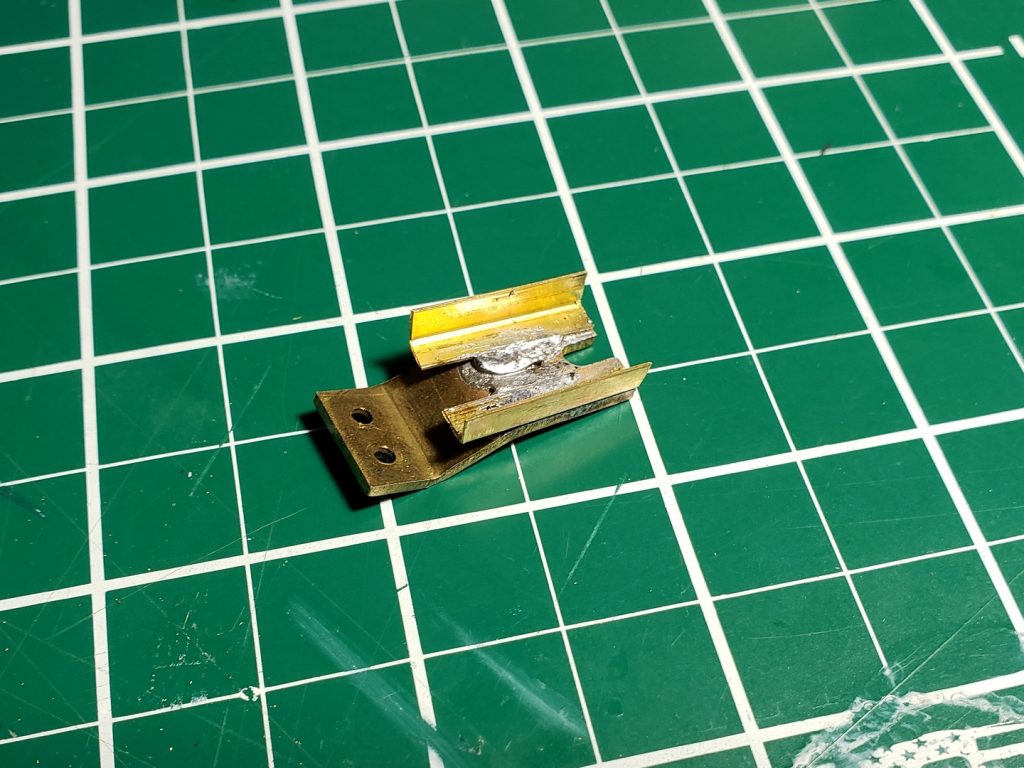
That worked out pretty well, with only a little bit of misalignment for the flex tubing to deal with.
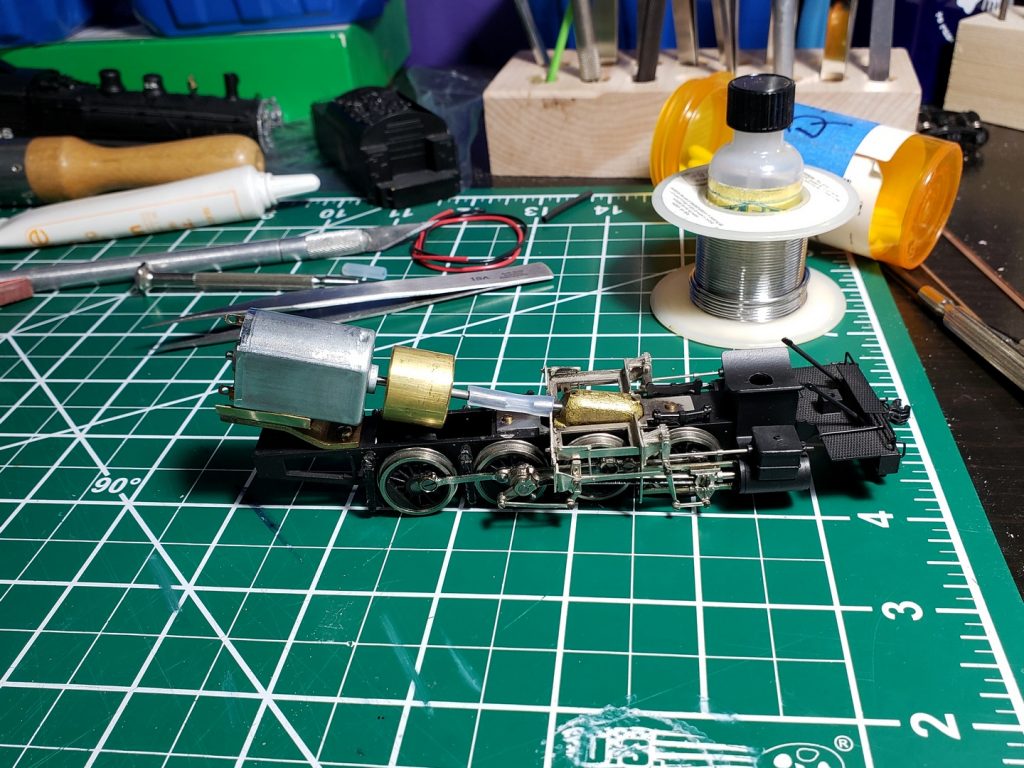
After checking the fit, and making sure the boiler would still go back on, I glued the motor to the mount with some silicone caulk. While that was drying I addressed the mounting of the speaker and decoder.
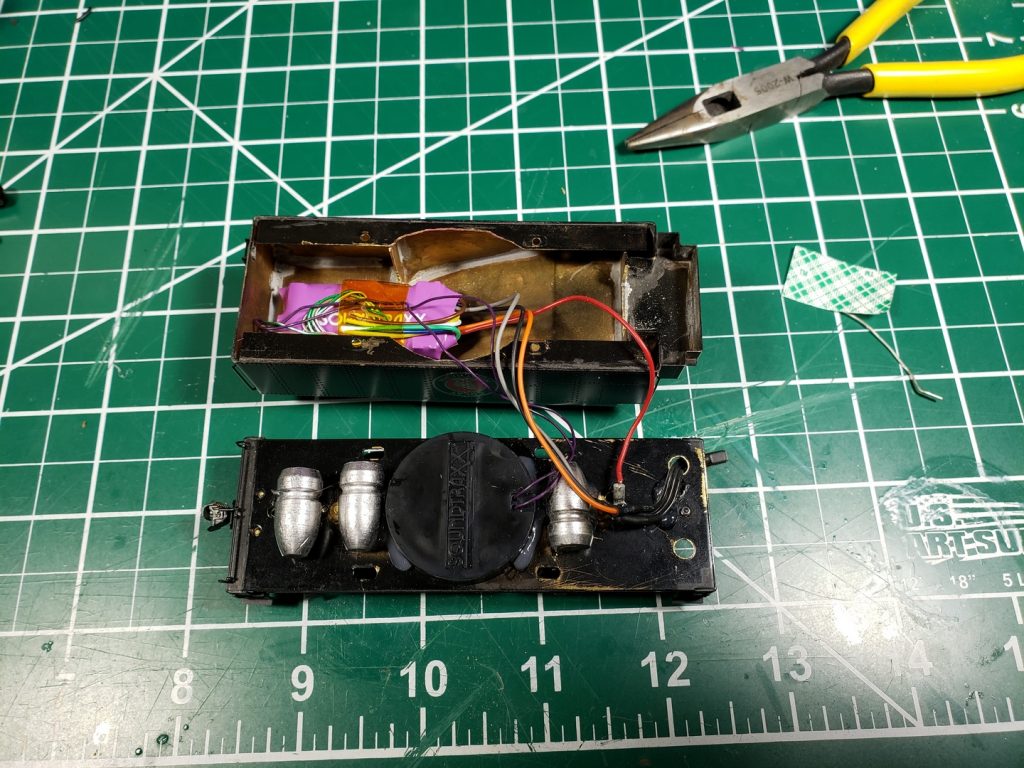
It was pretty obvious that there wasn’t going to be any room in the boiler for the decoder and speaker so I made the decision to put them in the tender. This of course meant modifying the tender somewhat. So I took it apart too.
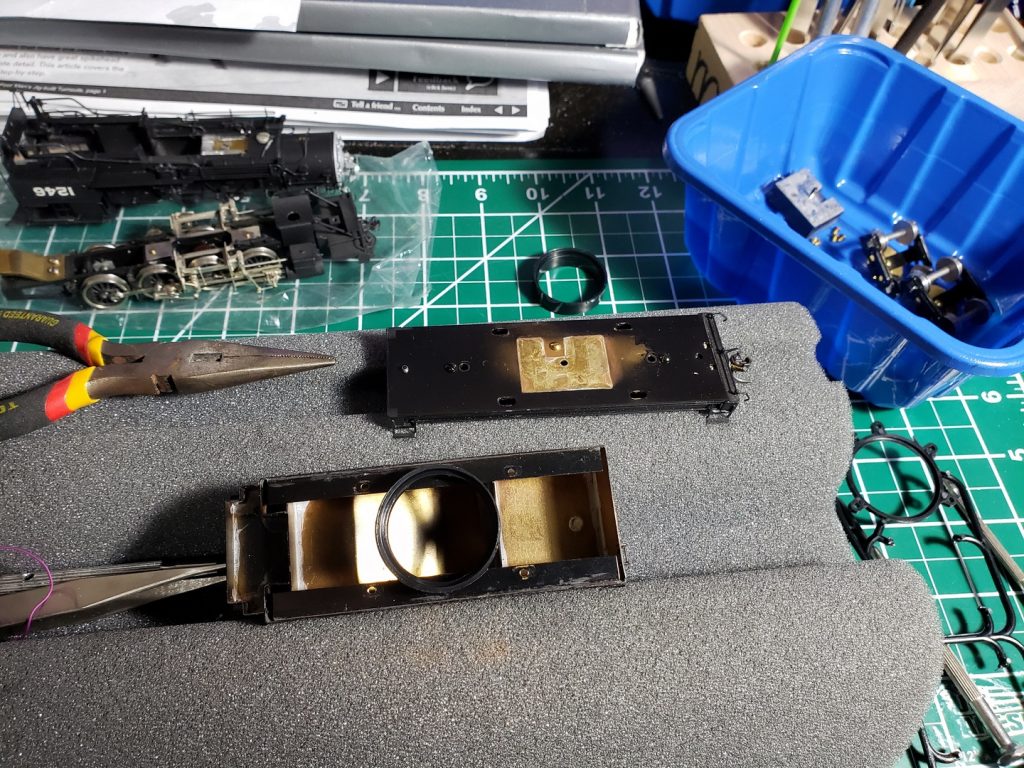
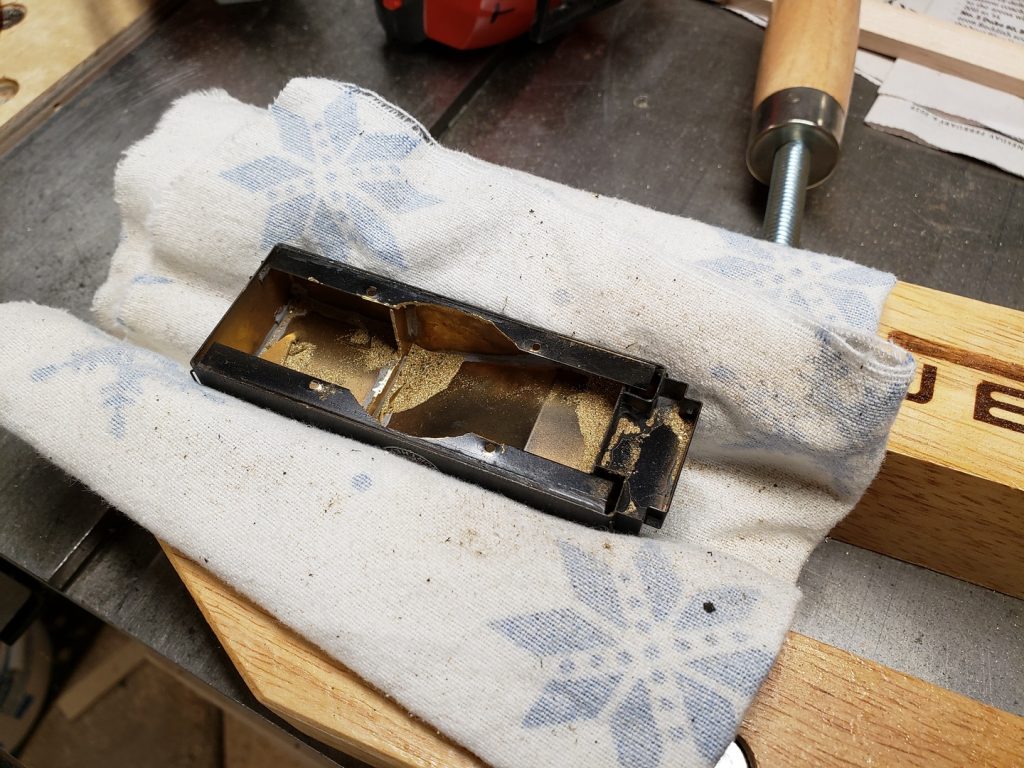
If you look inside the tender you can see it was formed with sheets of brass soldered together. Those are in the way, so they had to go. I cradled the tender in some rags and used a cutoff wheel in my Dremel to hog out the brass.
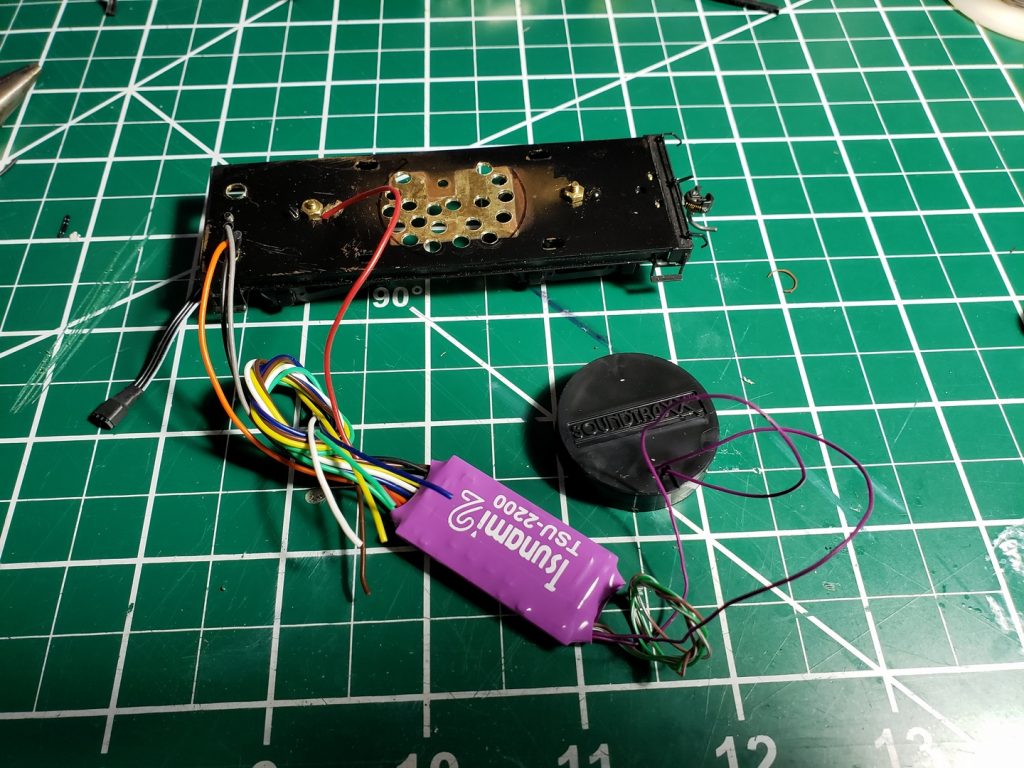
Next I needed to find some connectors to send motor power to the locomotive, and to get rail power from the engineer’s side. I also want to add a working headlight at some point, so I really need to have five wires between the tender and the locomotive. I didn’t have any small connectors that would do the job. I found some at the hobby store – some three pin and some two pin that will do okay – but I’m probably going to replace them at some point because they are not really as flexible as I’d like. In any case, I wired up the decoder.
Next was wiring up the motor in the locomotive.
Unfortunately when I tested the wiring there was an issue with the decoder and the speaker. I think I got a bad speaker and it caused the audio amp in the decoder to melt down. It burned a hole right though the heat shrink on the decoder. Fortunately the decoder was still in the 90 day “we’ll replace it no matter what” warranty (which is great customer service from SoundTraxx!) and I sent it in and they sent me a new one. I also bought a new speaker.
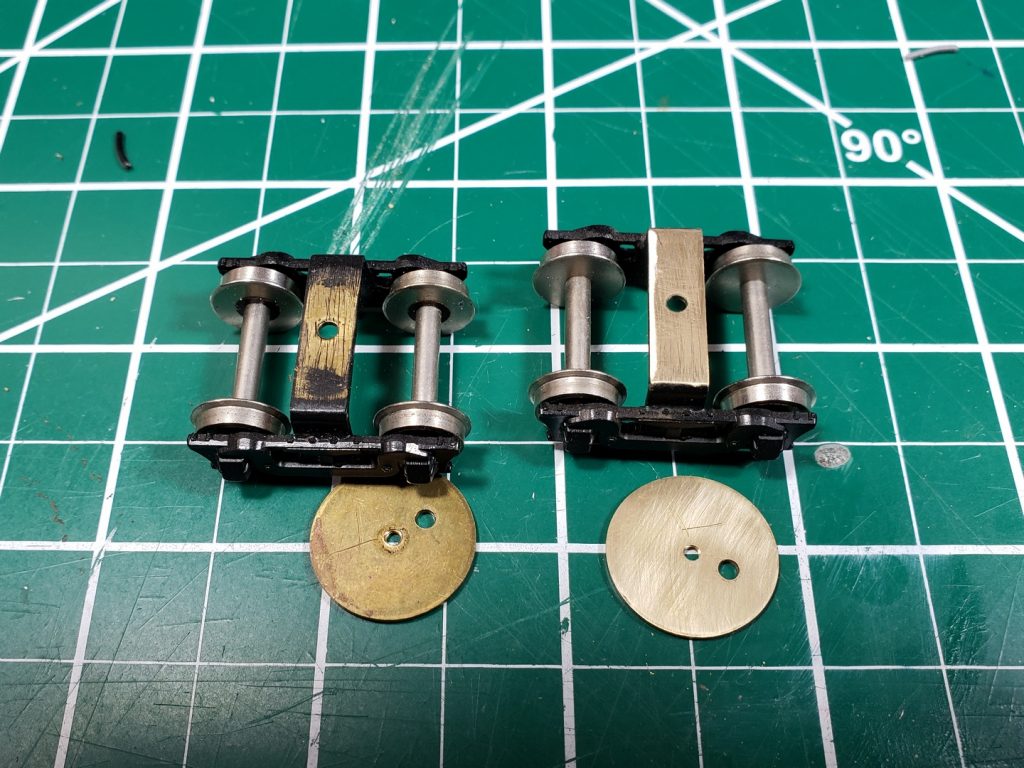
I did notice before the decoder burned up that there were some power pickup issues with the tender. So I set about to remedy that.
The power is picked up by the wheels on the fireman’s side of the tender, transferred though the pointy axle ends to the truck frames, then to the body of the tender with some large brass disks. It wasn’t the most reliable. So I added some .015″ diameter phospher bronze wipers to the trucks and cleaned up the rest of the power path.
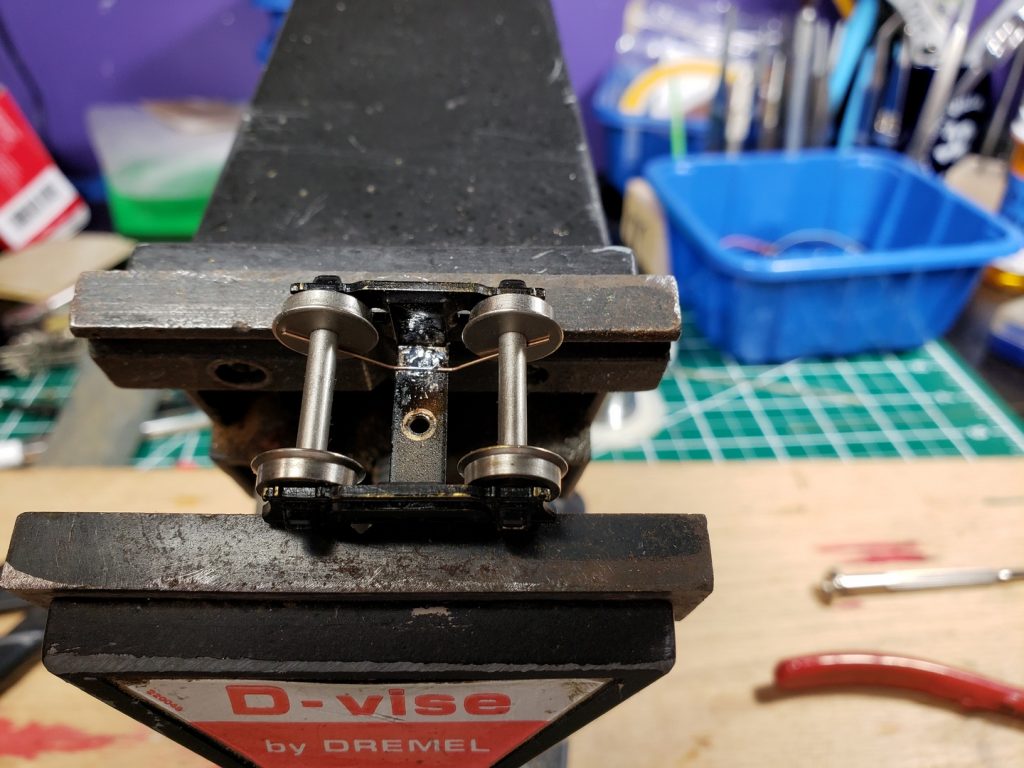
This helped a lot. There is still a little bit of a problem with the locomotive pickup and I might need to add some wipers there, but it’s lots and lots better.
The new decoder and speaker came in and I wired them up and tested them before installing them. They worked great! So I cleaned up the wiring and fastened the decoder to the tender shell with some foam double sided tape. I glued the speaker housing to the bottom of the tender with silicone caulk. I also added some weights (yes, those are lead 9mm bullets) with hot melt glue to make up for removing the weight that had been mounted in the center of the tender.
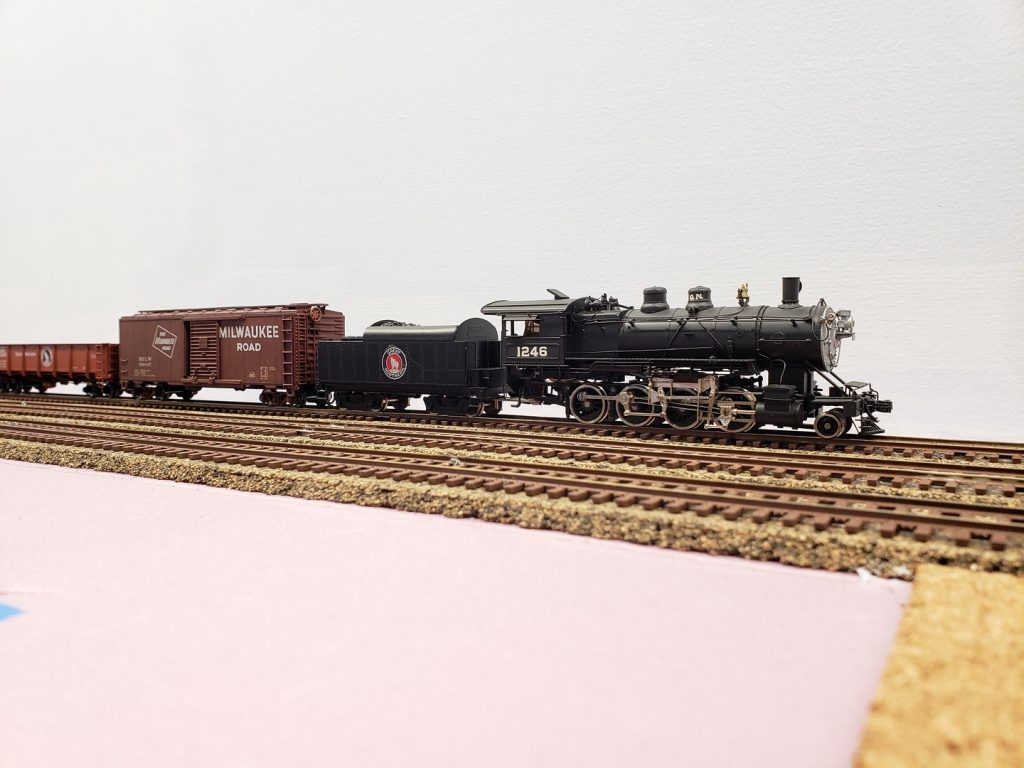
Then it was just a matter of reassembling the tender and locomotive, adjusting the wiring so that the plugs fit properly and shooting some video!
Still on the list of future upgrades are adding a working headlight, adding a working light to the tender for backing up and replacing the dummy coupler on the front with a Kadee coupler.
But for now it will do.