This is the second InterMountain kit that I bought the other day. There were not quite as many tiny parts as the last one, but only by a few.
I changed the assembly order a bit so I ended up putting the most fragile parts on last. That seemed to help quite a lot as I only broke one part this time, and that was while I was removing it from the sprue.
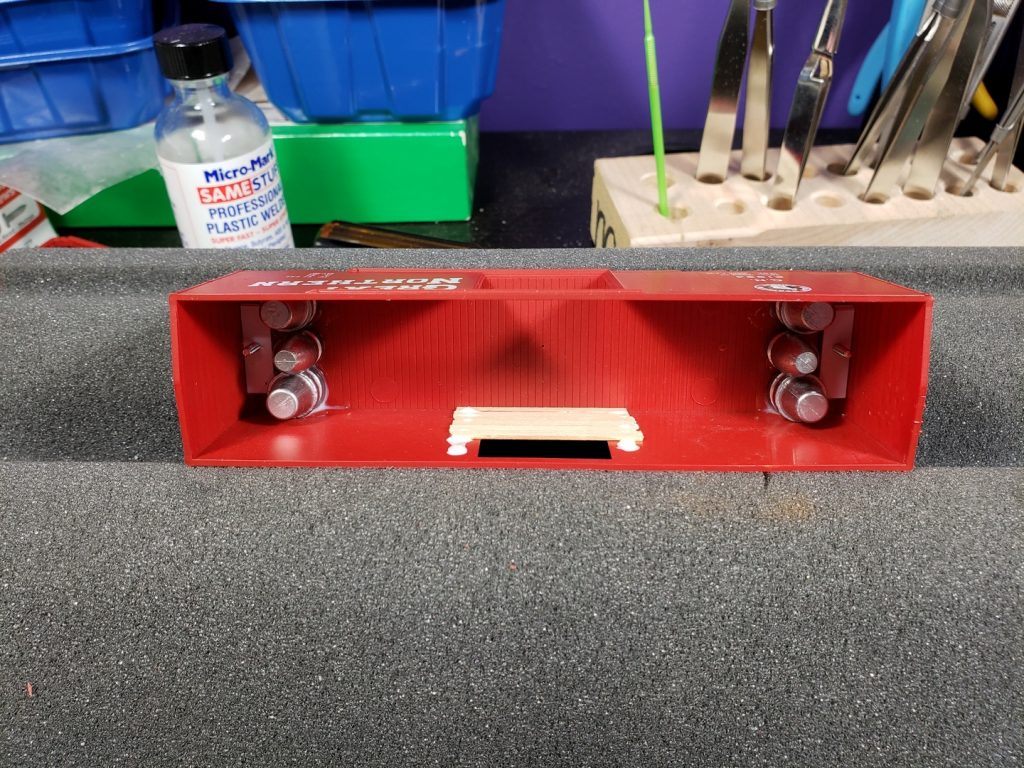
I also took some more photos during the build process. Here I am adding some weight into the car. I used .45 caliber lead bullets that I cast myself and made the weight close to 5 oz. I’m trying out the modified weight system where you add one ounce per inch of car. This makes them a little heavier than NMRA standards, but people say they roll better and behave more like real cars if they are a little heavier.
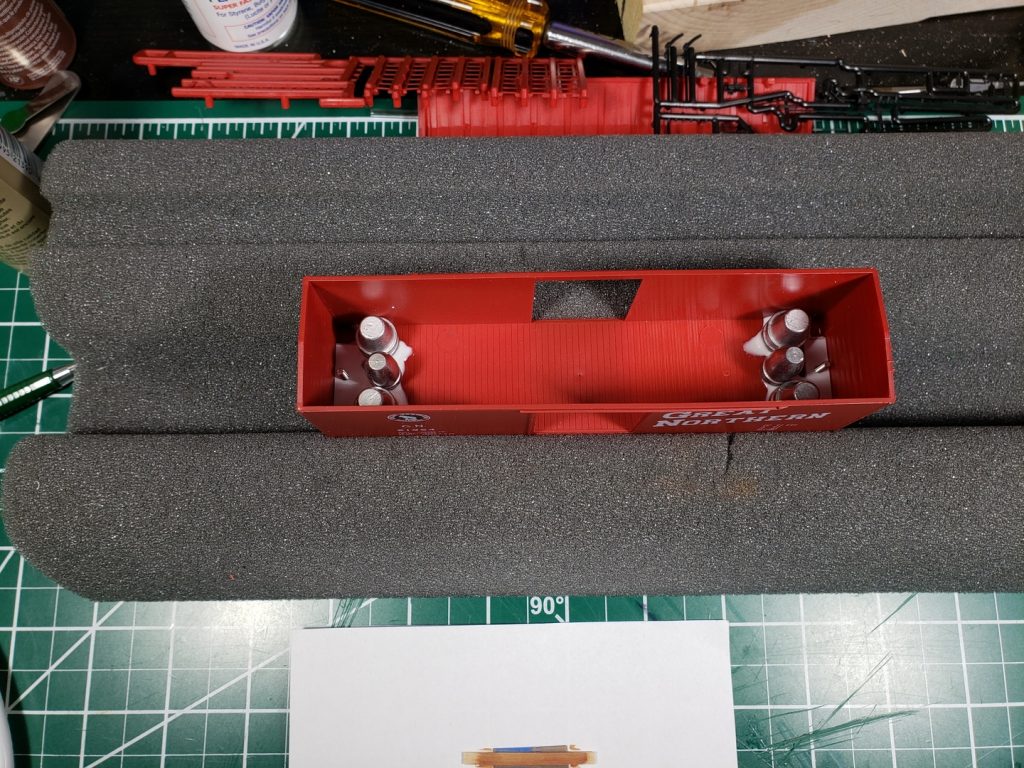
If you look closely at the ends of the cars you can see some white styrene strips. I added some .080″ thick styrene inside so I could drill and tap the draft gear mounting holes and have more threads than just the thin casting would provide. I replaced the supplied draft gear boxes with Kadee boxes with the ears cut off.
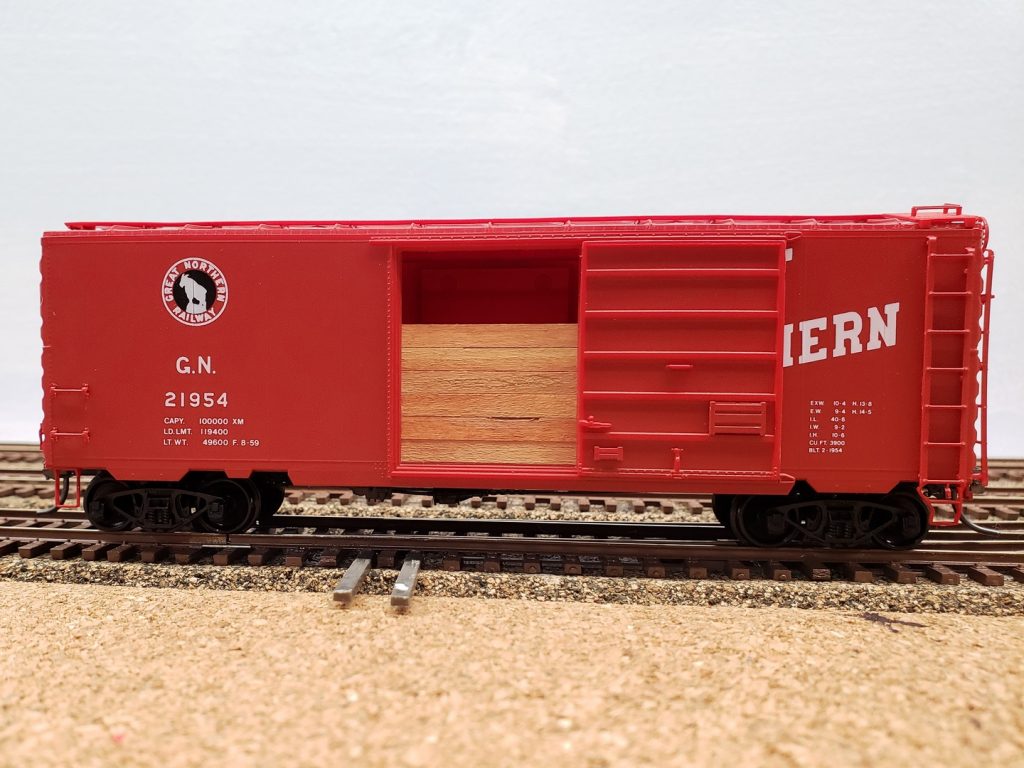
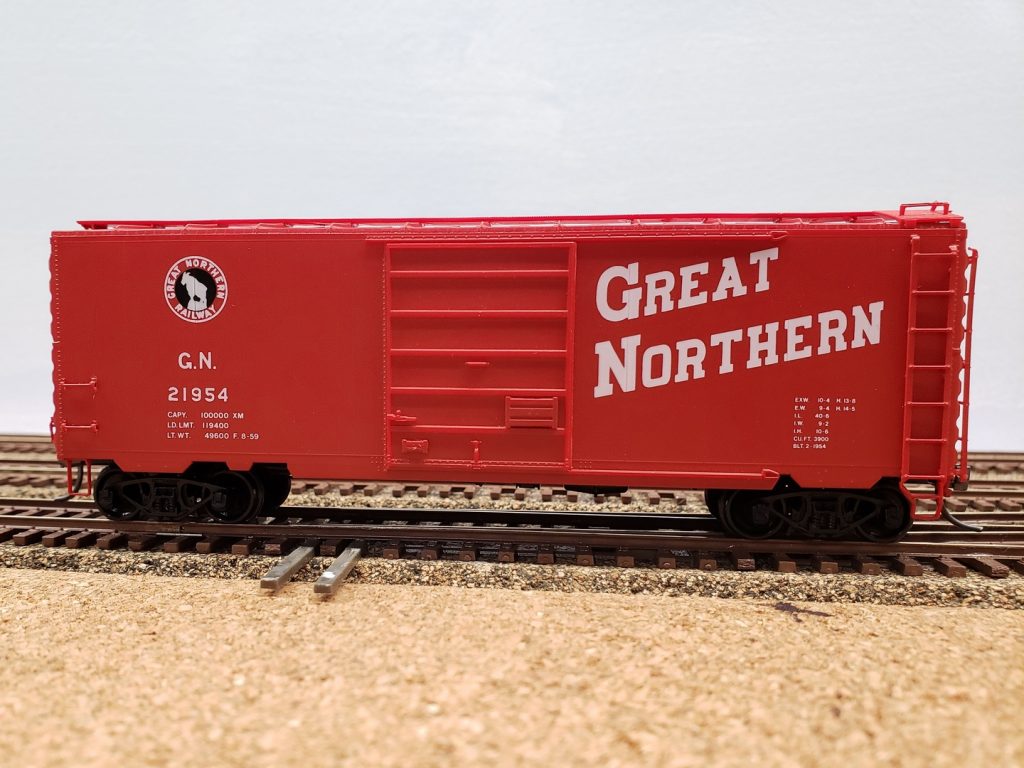
I also thought it would be fun to model this car with a grain door on one side. Up until the mid to late 1960s grain was shipped in box cars with wooden doors nailed over the openings. Since my time period is around 1958 and I’m planning on adding a feed mill, I’ll be shipping some grain. I took a page from Tony Thompson’s book and decided to model one side with a grain door and one side with the door closed. So if I’m shipping grain I can run the car with the grain door side out, and run it the other way if I’m not.
Here are the 2×6 boards to make the grain door. I cut them to length and pre-painted them.
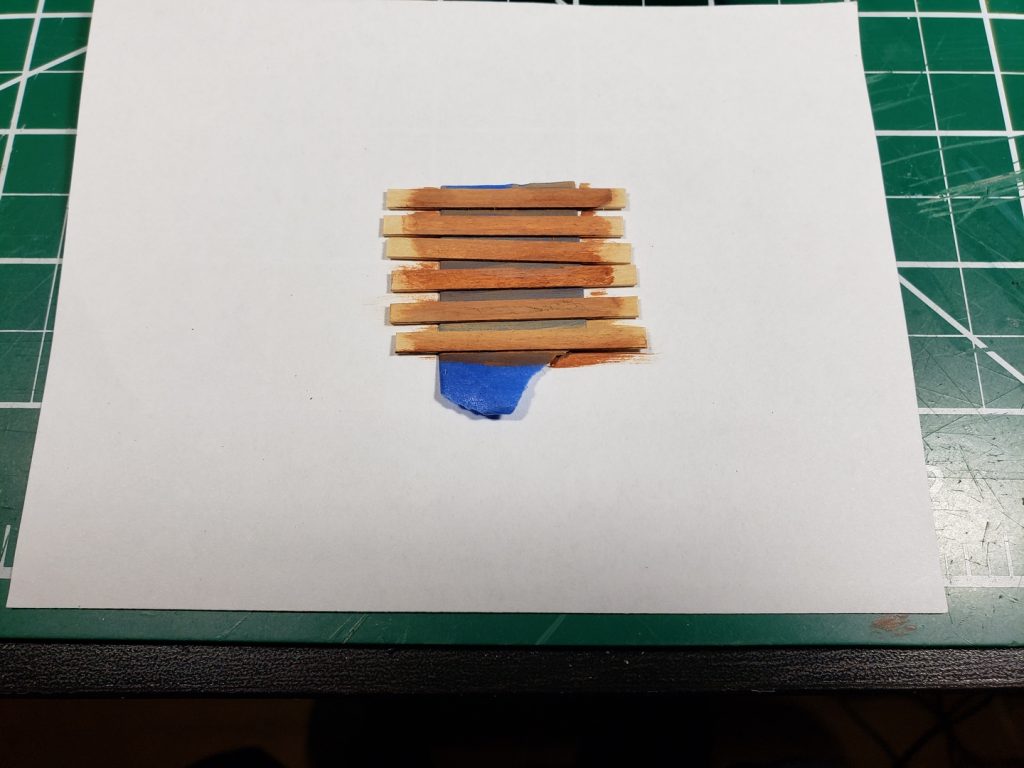
And here they are being glued into the doorway. I used Canopy Glue (another favorite of Tony Thompson – he uses it for almost everything) for the boards. And for adding the weights.
Once the weight and grain door were installed I glued on the roof. The instructions have you do this last which doesn’t make any sense to me since then you have all the fragile parts installed and they are easy to break.
Tiny, fragile parts.

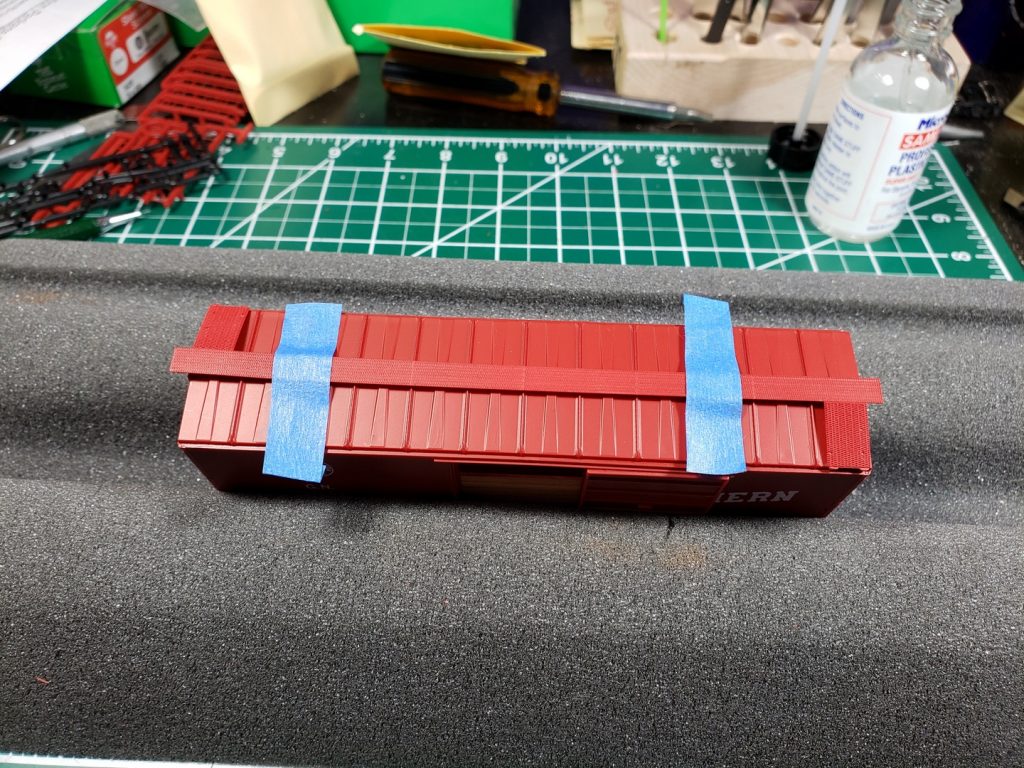
After the roof was on I glued on the doors and the roof walk. I positioned the roof walk with some blue tape and then started gluing at the center and worked my way out.
After the roof walk I added the end ladders and then single grab irons on the sides and ends. Next came the brake bell crank so the brake rod would have something to attach to. After that was all the B end detail – now we are reaching fragile territory.
I installed all the brake detail on the bottom next, then the side ladders with stirrups and the stirrups on the other sides. These are the most fragile parts.
Attach the trucks and it’s all done!
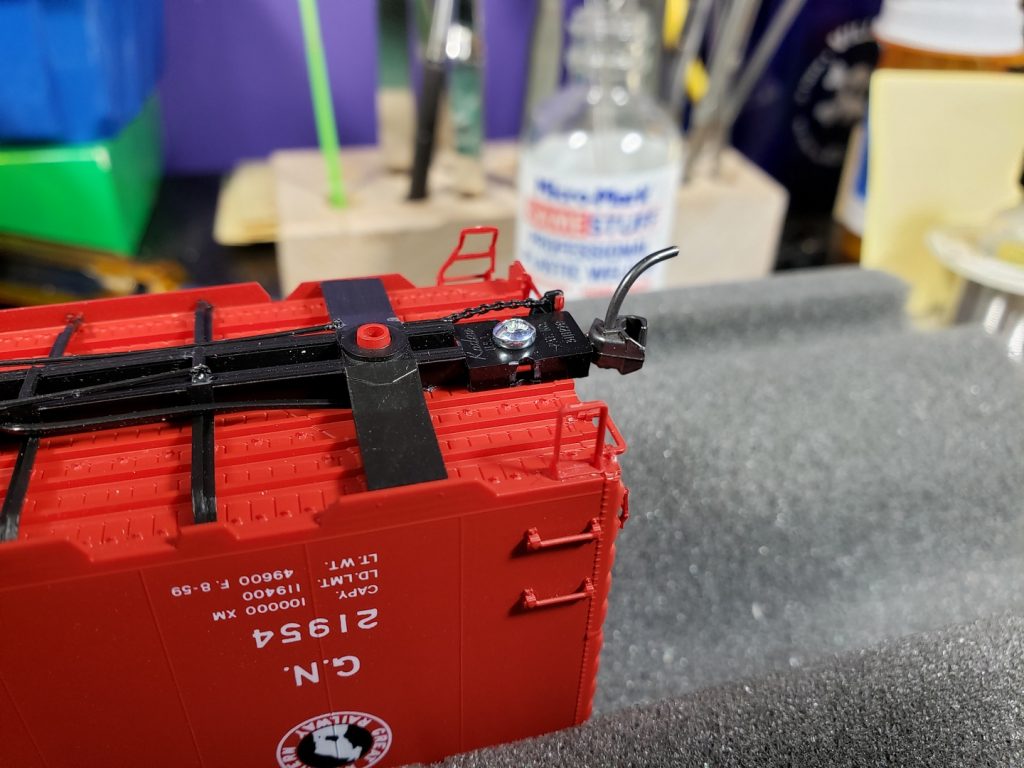
B end detail.
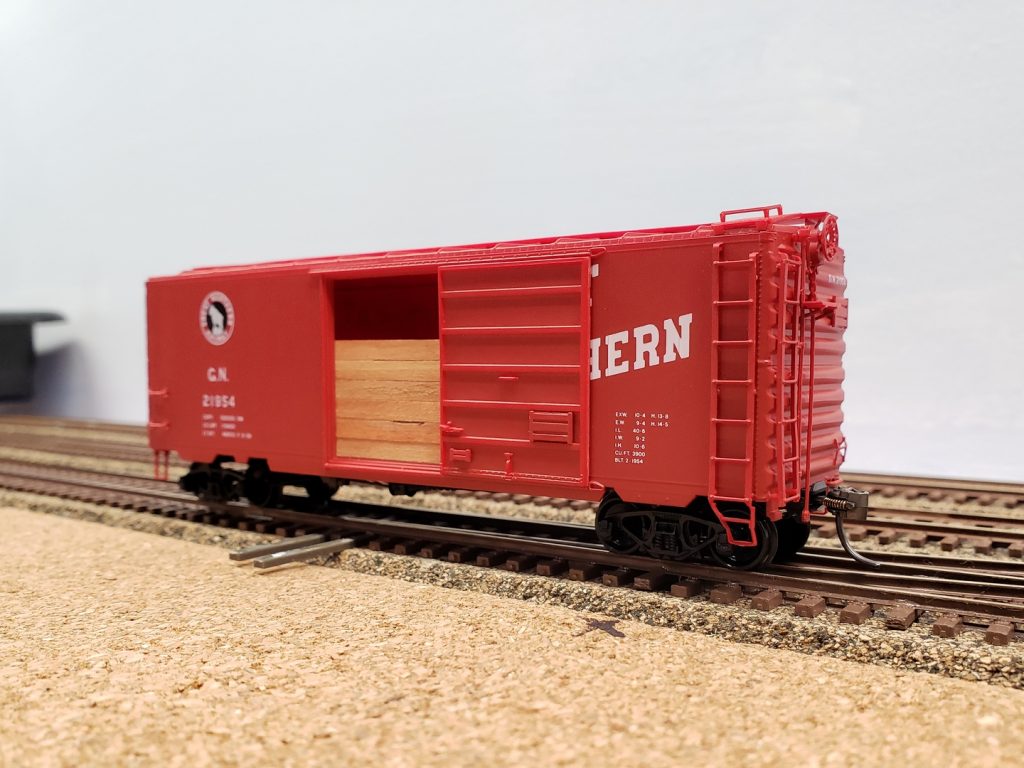
Grain door detail.