
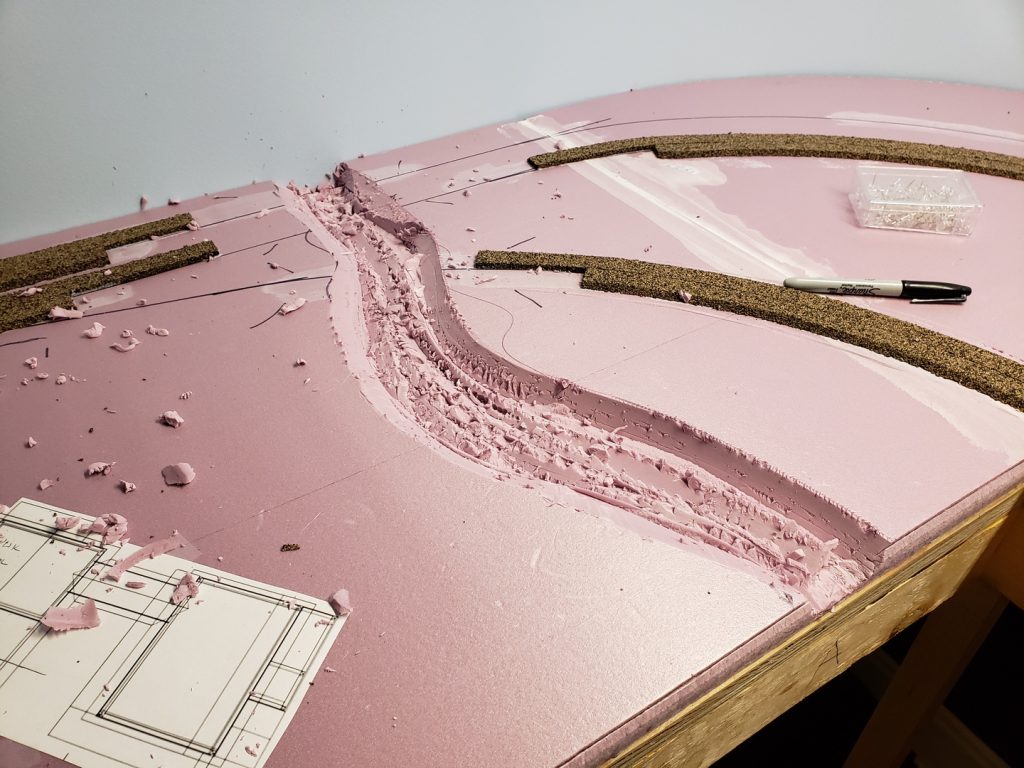
As I looked at the bare pink foam base of my layout I decided something was missing.
I needed a creek. And that creek would need a name. I decided to name it after my good friend who passed away about a year ago.
Unfortunately after I decided that I needed a creek I realized that I had three tracks running across it and that there would also need to be a road crossing.
That meant I needed three railroad bridges and a road bridge. And concrete abutments for all of them. And I needed to complete the creek detailing before I could install the bridges and the track.
Whoo boy.
This post will bring us up to date on the progress of this pretty major project. It’s not done, but I decided that I should document the progress to this point.
There are lots of pictures here.
I started by roughing in where the creek would go and hacking out some of the foam. You’ll see in later pictures that I needed to remove a lot more foam.
Then I needed bridges. The two bridges at the back are on straight sections of track, so they are pretty simple. I picked up a package of Central Valley 25′ truss bridges and built one up to see how it looked. I just used sheet styene to hold the sides together because you won’t be able to see the interior very easily. Anyone who looks that close deserves what they get.
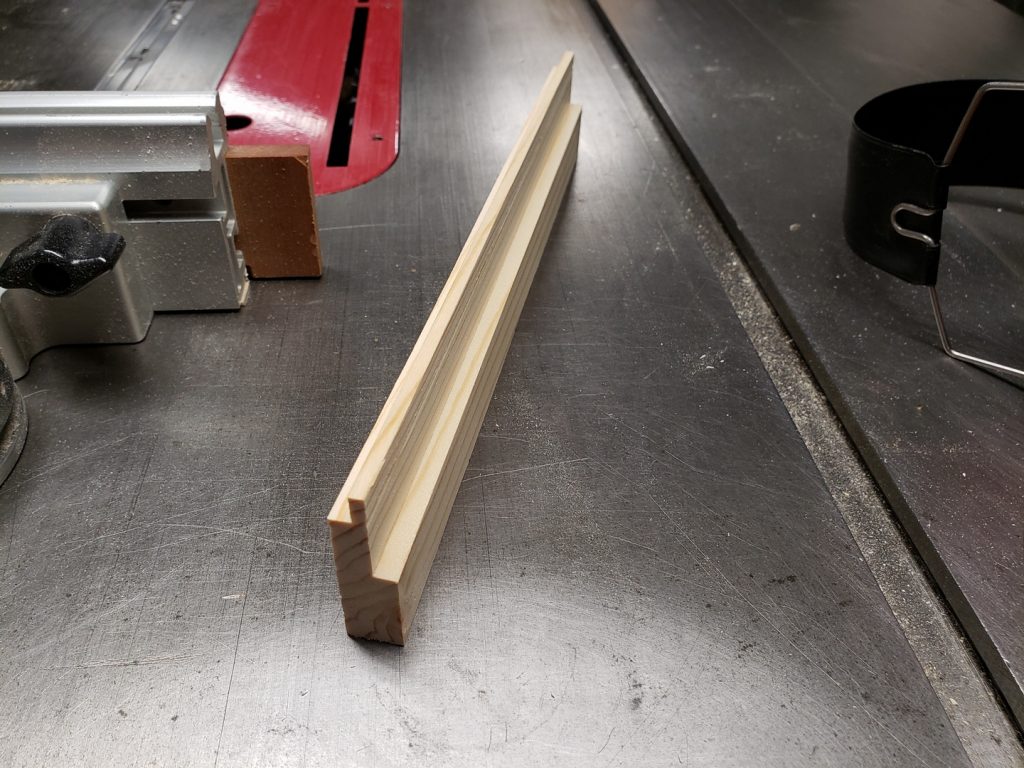
Then of course I needed some bridge abutments to support the ends of the bridges. I had purchased a package of bridge shoes, so I figured out what the depth of the support needed to be and then made up some stock on the table saw.
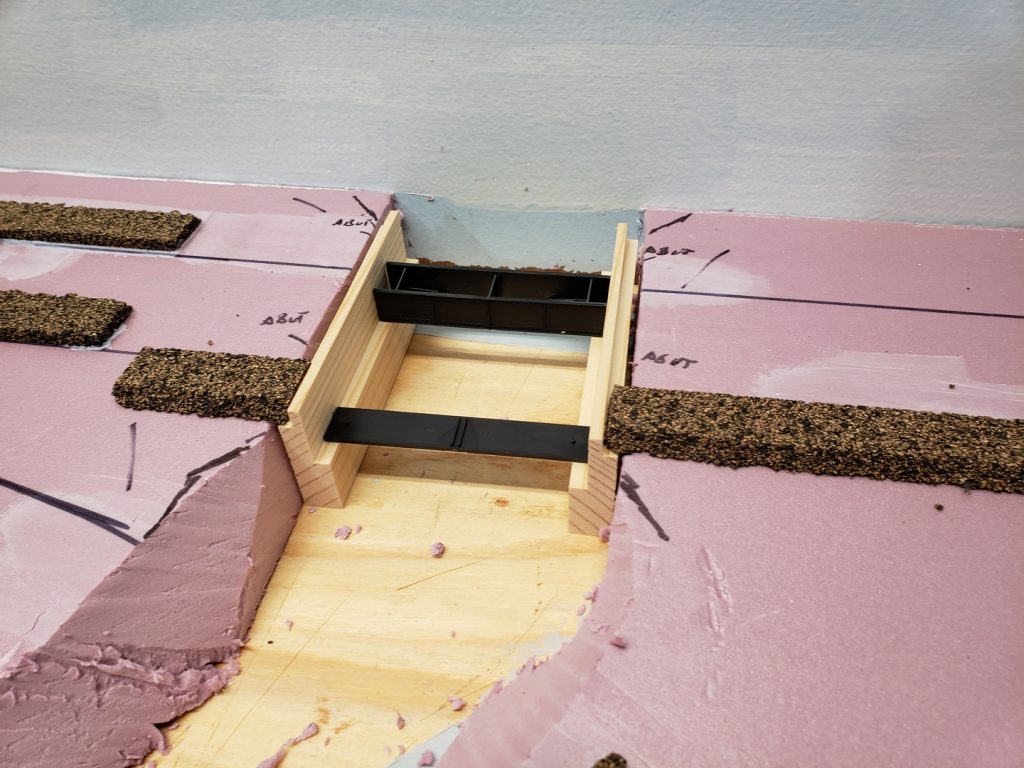
I figured out how long I wanted them, cut them to length, hacked out some more pink foam and did a test fit.

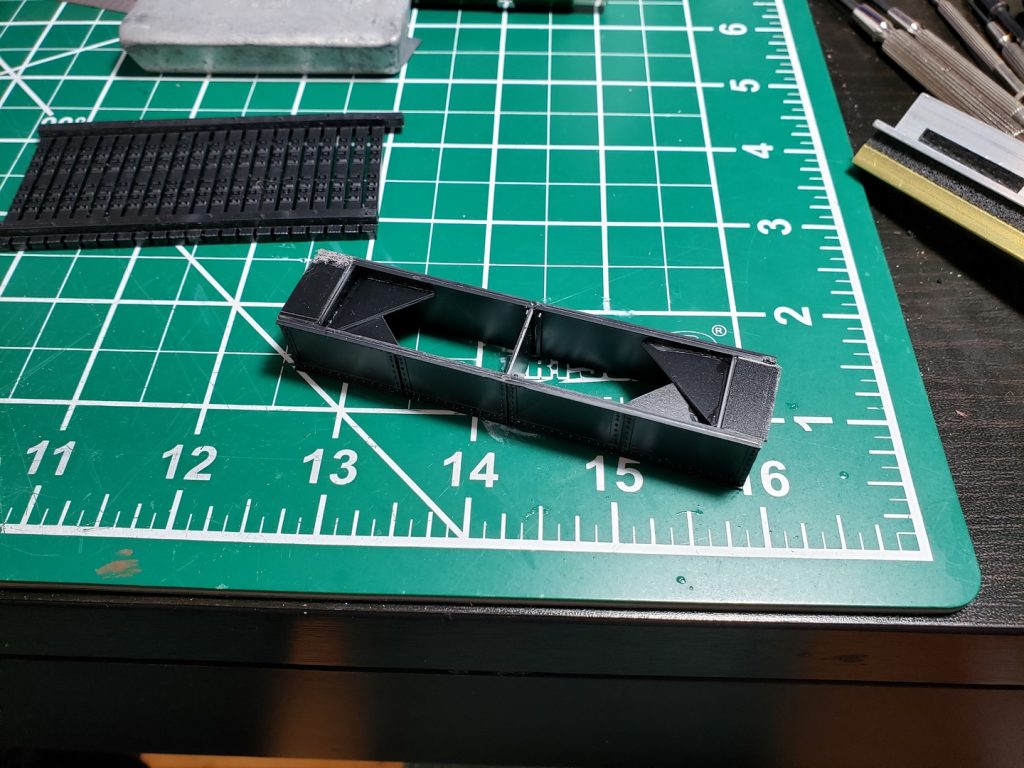
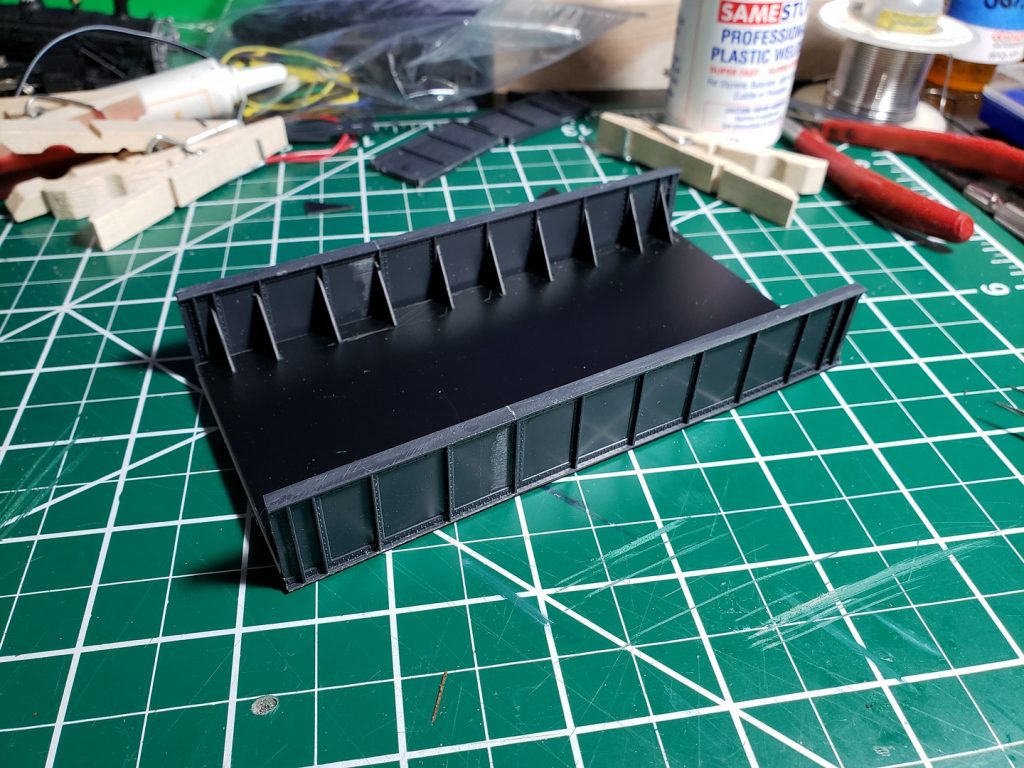
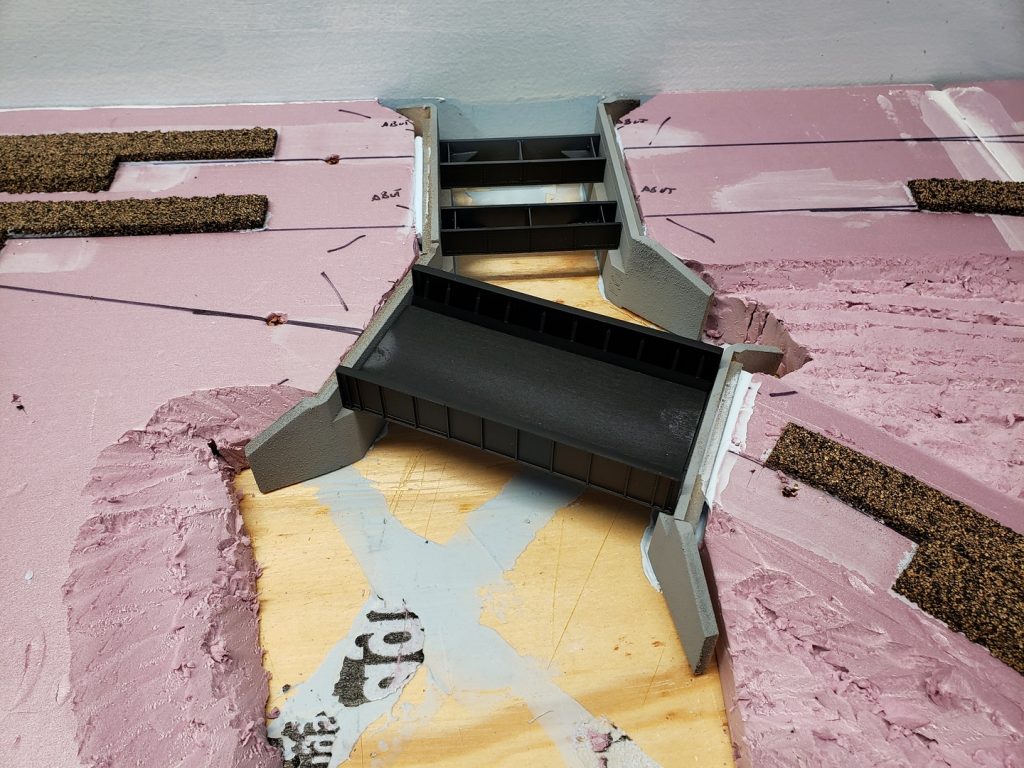
It looked pretty good, so I next figured out what to do about the curved crossing. I purchased some MicroEngineering 50′ Plate Girder bridge sides and decided that if I removed a couple of panels they would be a good length.
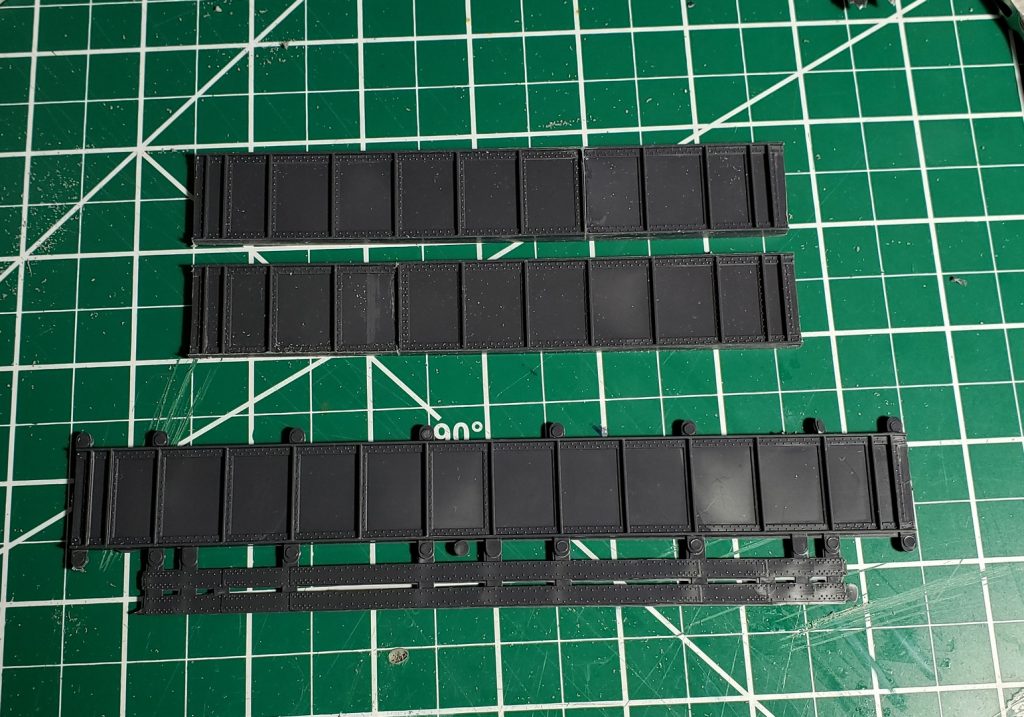
I decided to make this bridge with a ballasted deck, so I just glued up some sheet styrene and some styrene I beams for stiffeners. I decided that no one was going to see the bottom of the bridge, and the top would be covered in ballast, so there was no need for details.
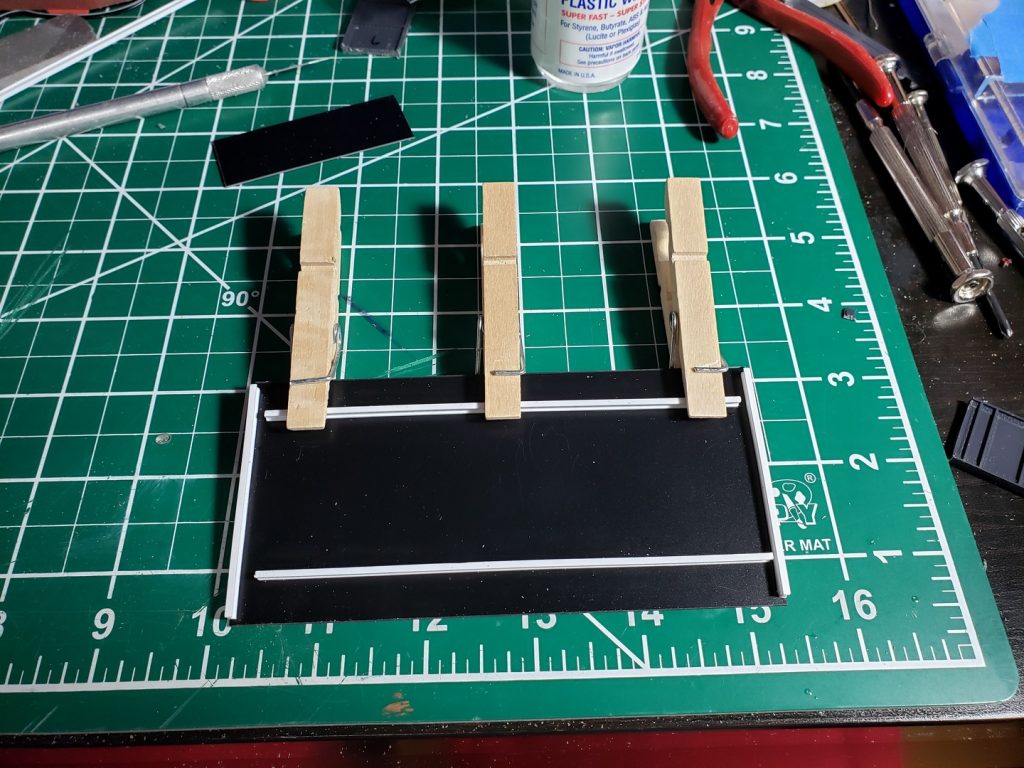
Time for a test fit.
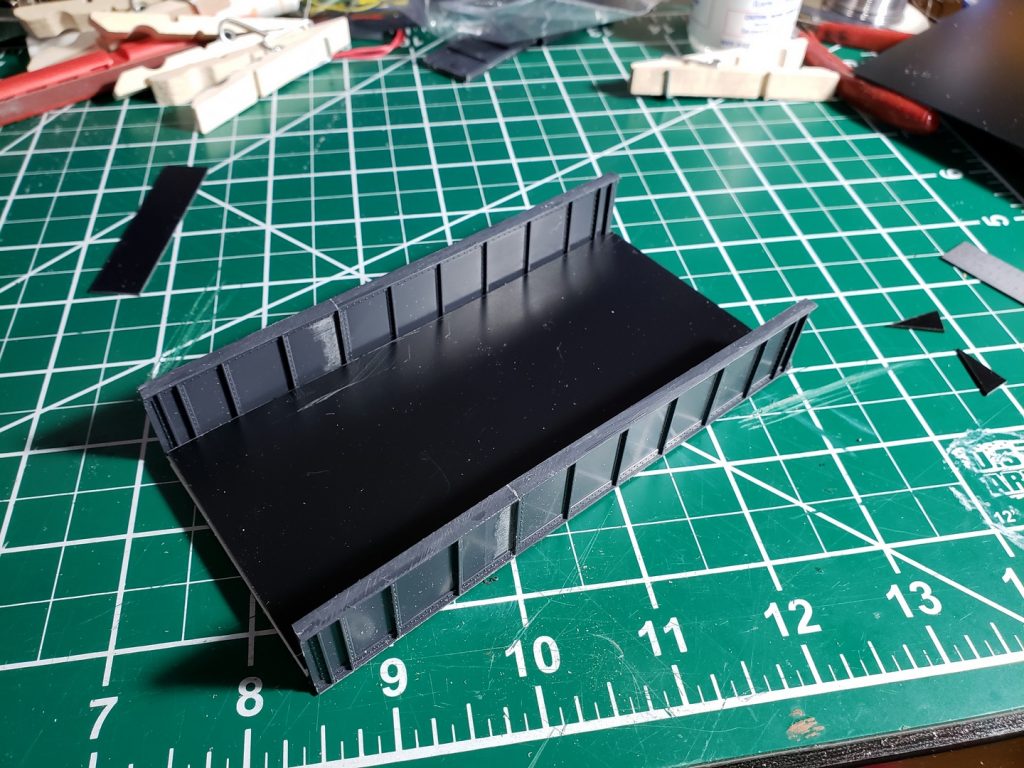
Looks like I need to hack out more foam for the abutments. I also decided the bridge needed some gussets to hold the sides up. So I cut some out of .015″ styrene and glued them in.
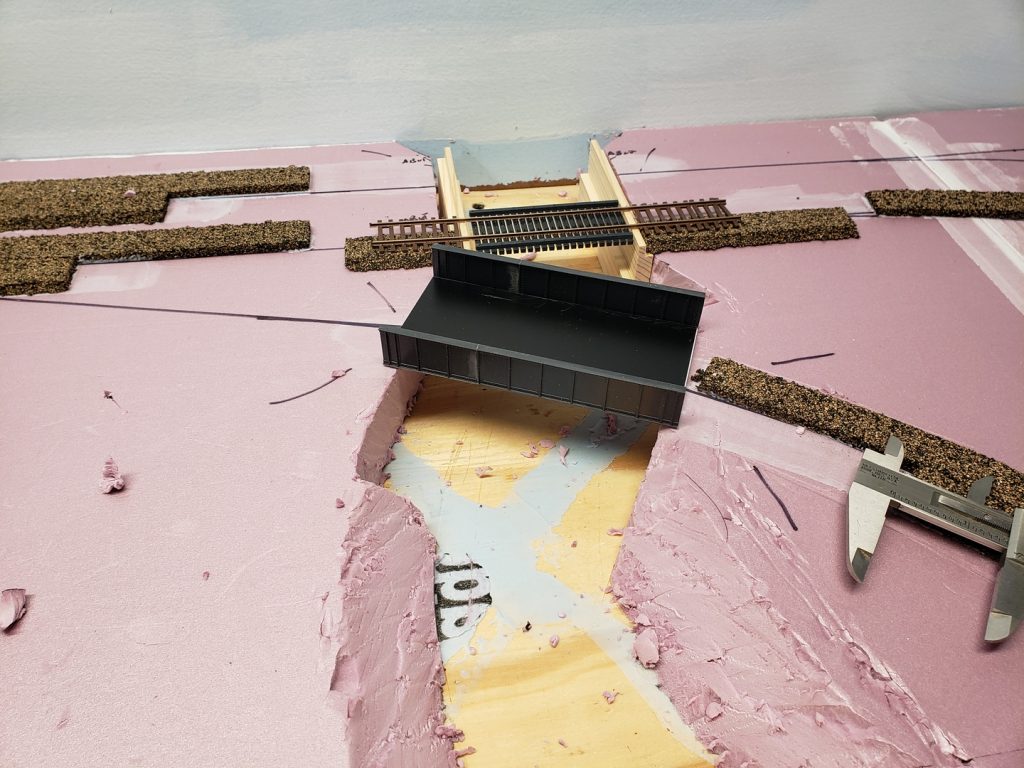
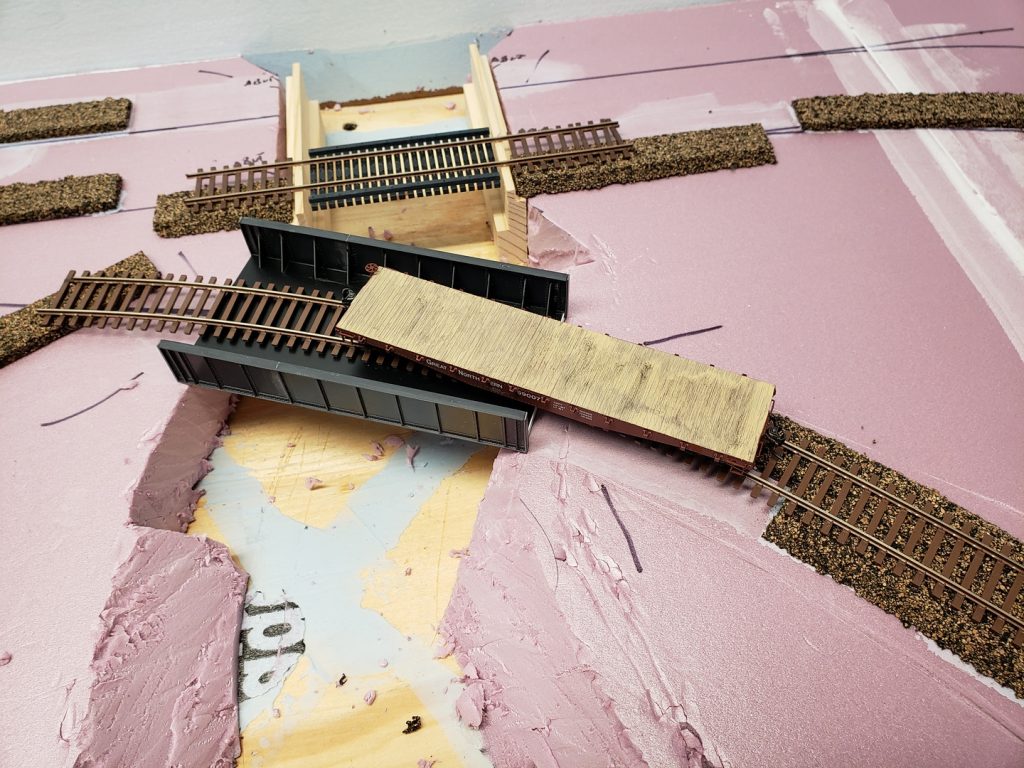
Time for some clearance testing. I placed the bridge on the layout and bent a piece of track into the 20″ radius that would be crossing the bridge. I checked it all with my NMRA gauge and it was pretty close. Then I ran a flat car through it.
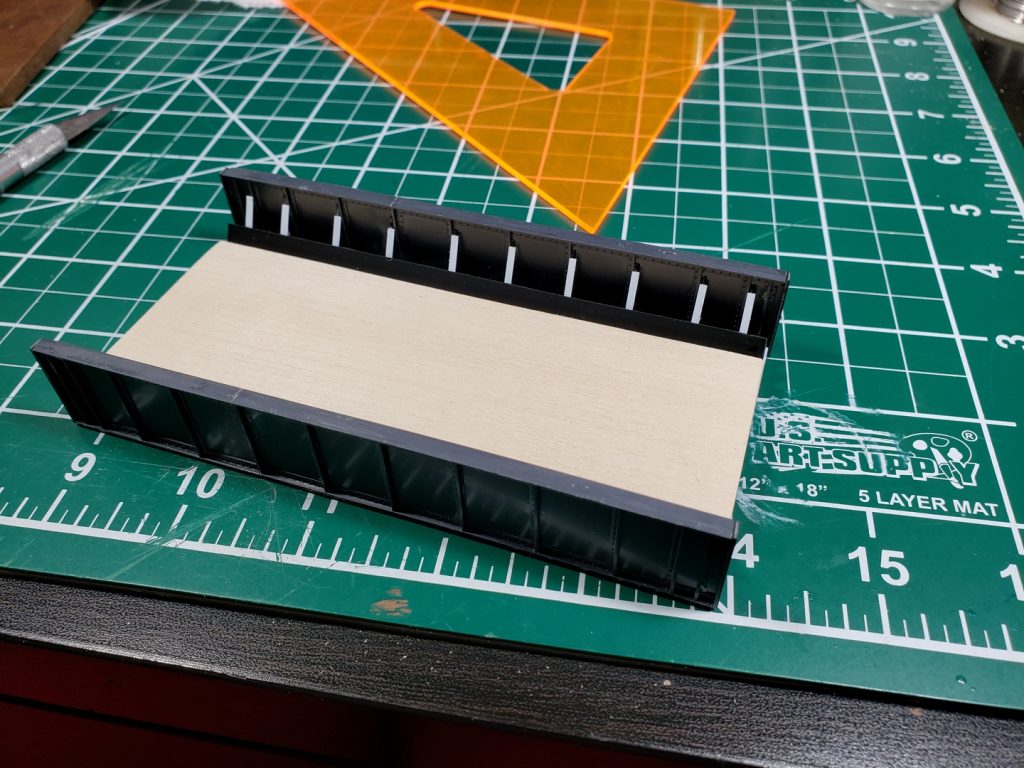
Looks okay, let’s proceed. After looking at the bridge I decided that the deck wasn’t really high enough to look right with the track on it. So I glued on an 1/8″ piece of basswood. I also decided that the gussets didn’t look right without a stiffener on them so I added some .040″ wide strips to them. Then I looked at some other bridge photos and realized that there was nothing to keep the ballast out of the gussets, so I added some plates to fix that.
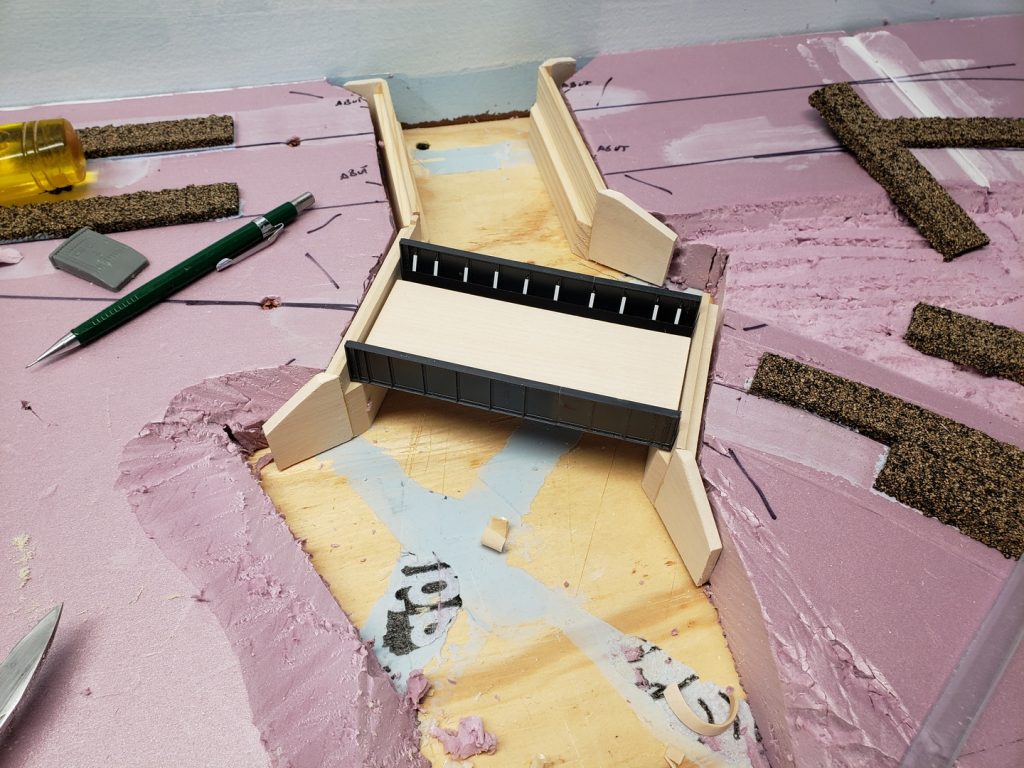
I made up some abutments, this time by gluing together some 1/8″ and 3/16″ basswood stock, did some more hacking at the foam and test fit the bridge.
I primed the abutments and then painted them. I’m not happy with the color yet but since I managed to get Sculptamold all over them I have to repaint them anyway. Next I glued all the abutments in place.
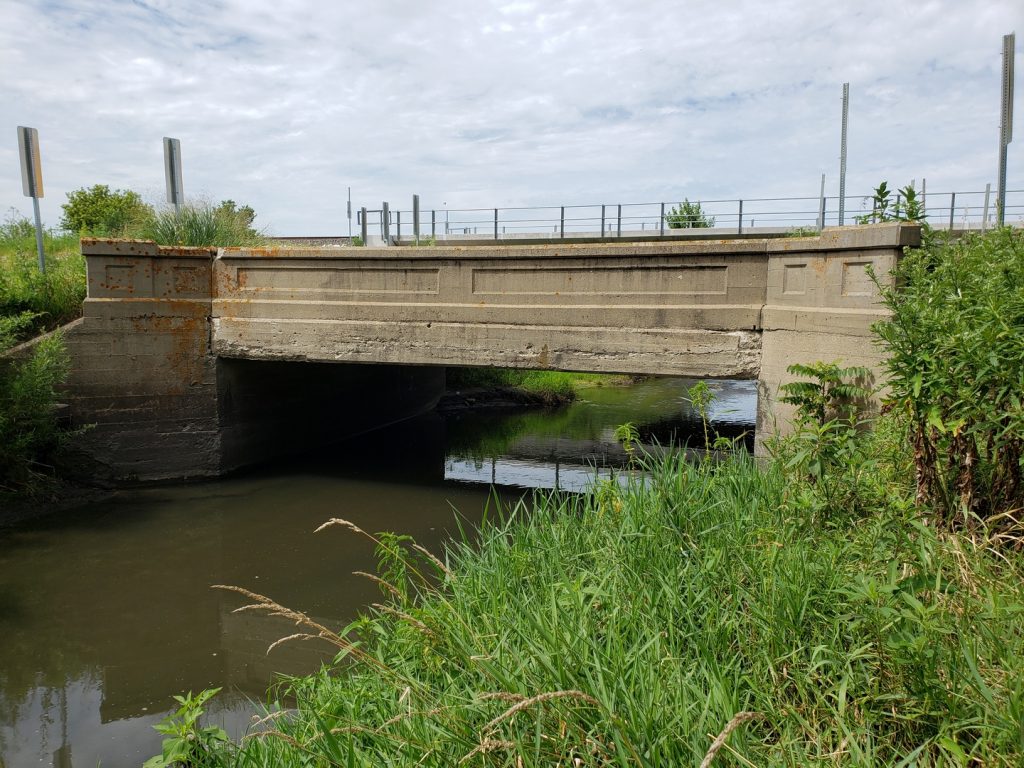
The next step was to figure out where the road was going to cross the creek and what kind of bridge to use. Fortuitously I had just gone down to Iowa to see the Big Boy and while I was down there I saw a nice looking bridge from around the 1920s.
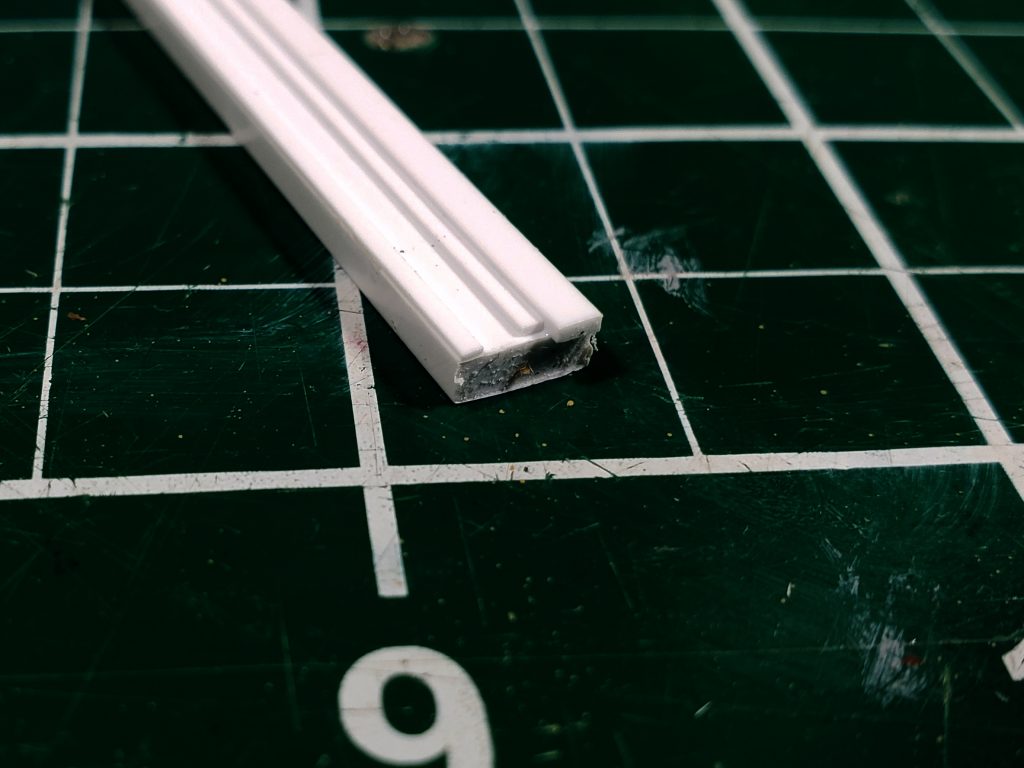
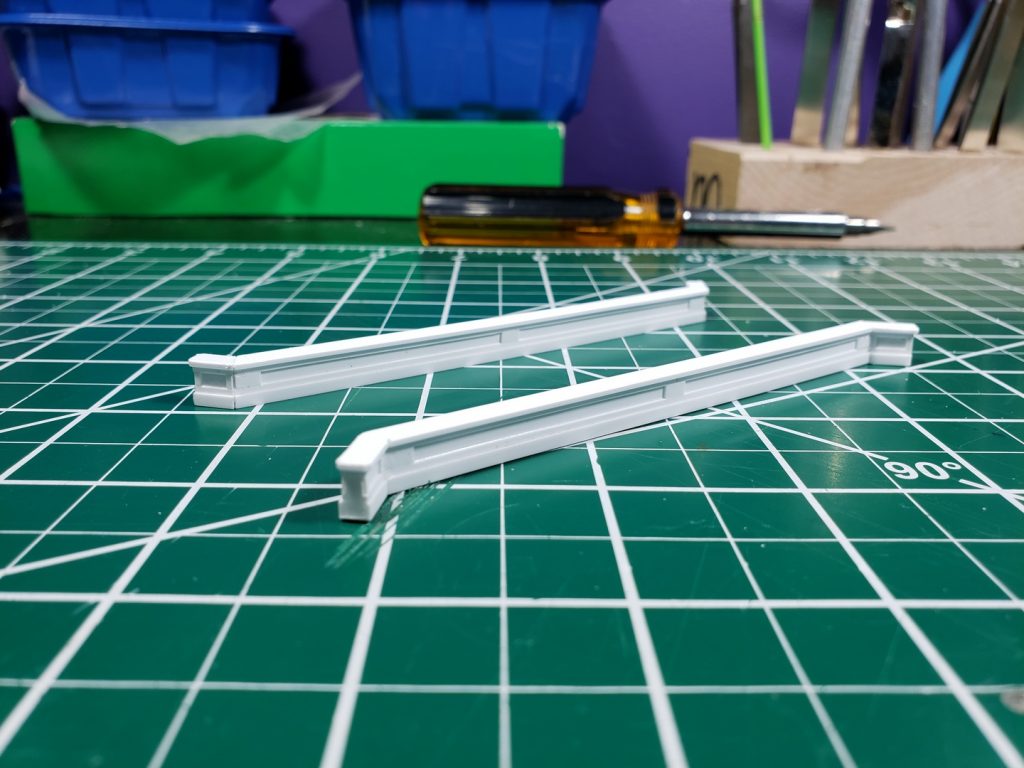
So I decided to scratch build the railings from strip styrene. I hadn’t taken any measurements while I was down in Iowa, so I just made some guesses.
Here I’m starting to build the profile of the railing. The core is .080″ x .250″ and the small strips are .015″ x .030″.
I repeated the profile on the other side, then I had to figure out how long the bridge was. So I had to hack out more pink foam and make more bridge abutments.
Once I had the length figured out I cut the railings and added some wings to the ends. Then I added some more small pieces to finish the decorative detailing and added the cap rail.
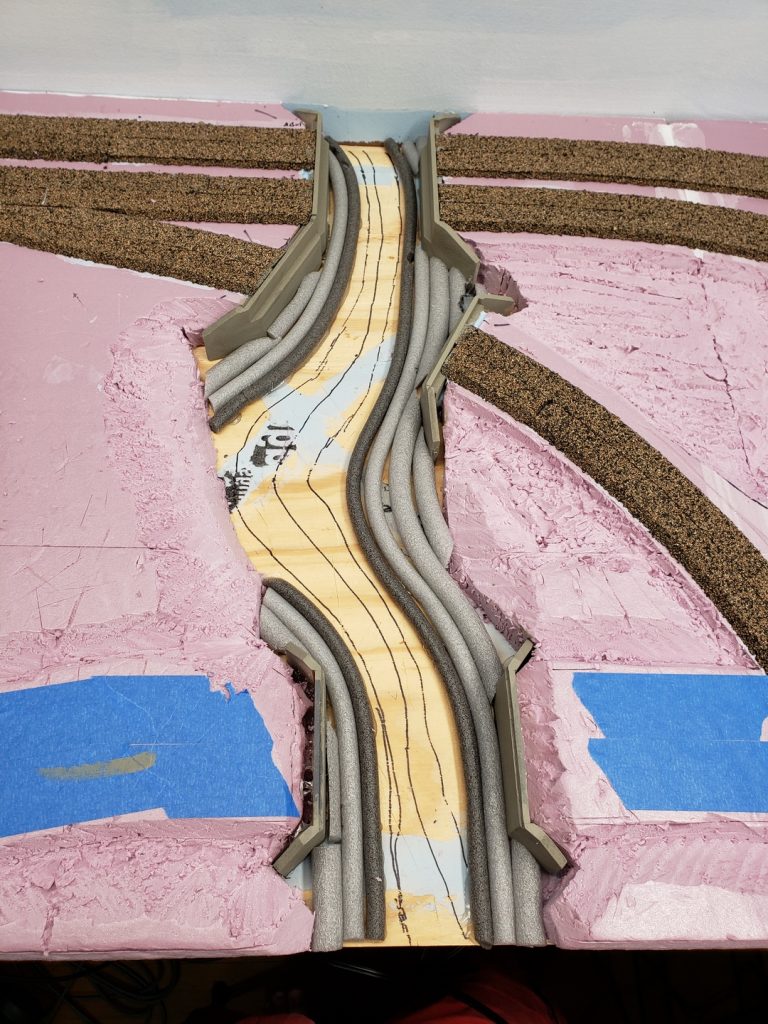
Now that the bridges and abutments are all sorted out I can move on to the creek bed. I had some foam backer rod in various sizes laying around and figured that would add some profile so I didn’t need to use so much Sculptamold. I glued down strips with hot melt glue – which was entertaining because it was melting the rods. Oops. But it worked well enough.
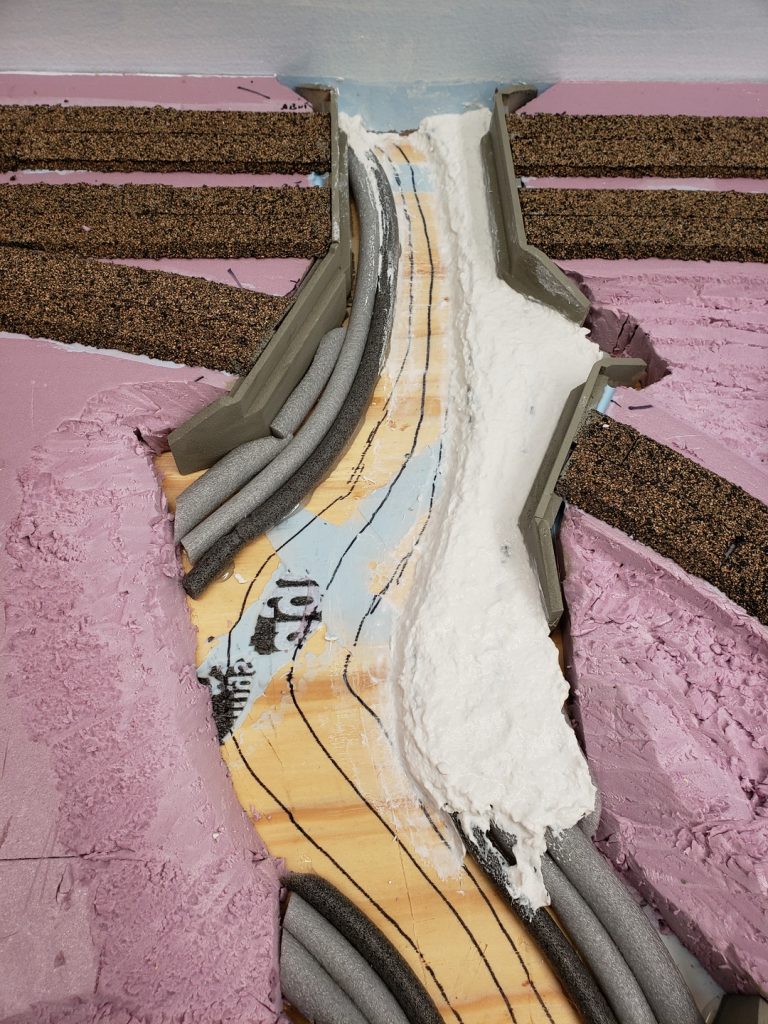
Then it was time to add the Sculptamold. I was going to just do it all at once but once I started I realized that doing one side at a time, and only doing smaller sections was the best way. So here is the first section.
Three more sections and we end up with this.

I concentrated on the actual creek because I can go back and do the rest after I lay all the track and install the bridges. But I need to get the creek entirely finished before the bridges can go in.
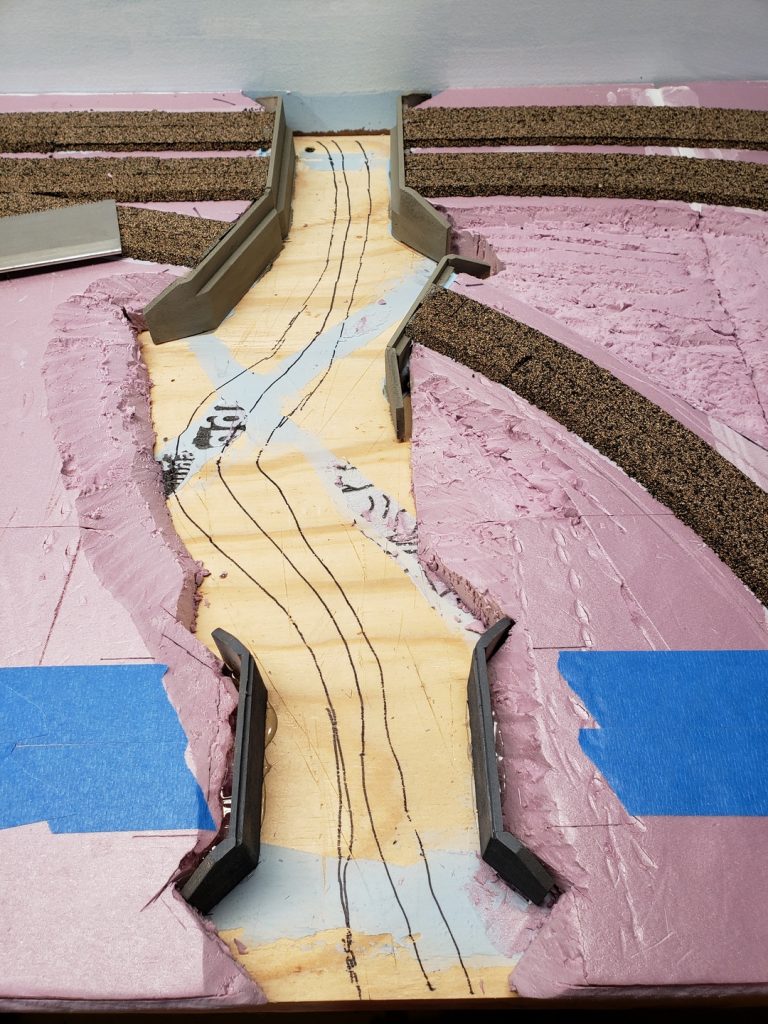
I sanded down some of the rougher areas and then painted it with some brown latex paint for a base coat. Then I realized that I missed a couple of spots in the back with the Sculptamold and had to go back and goop them up.
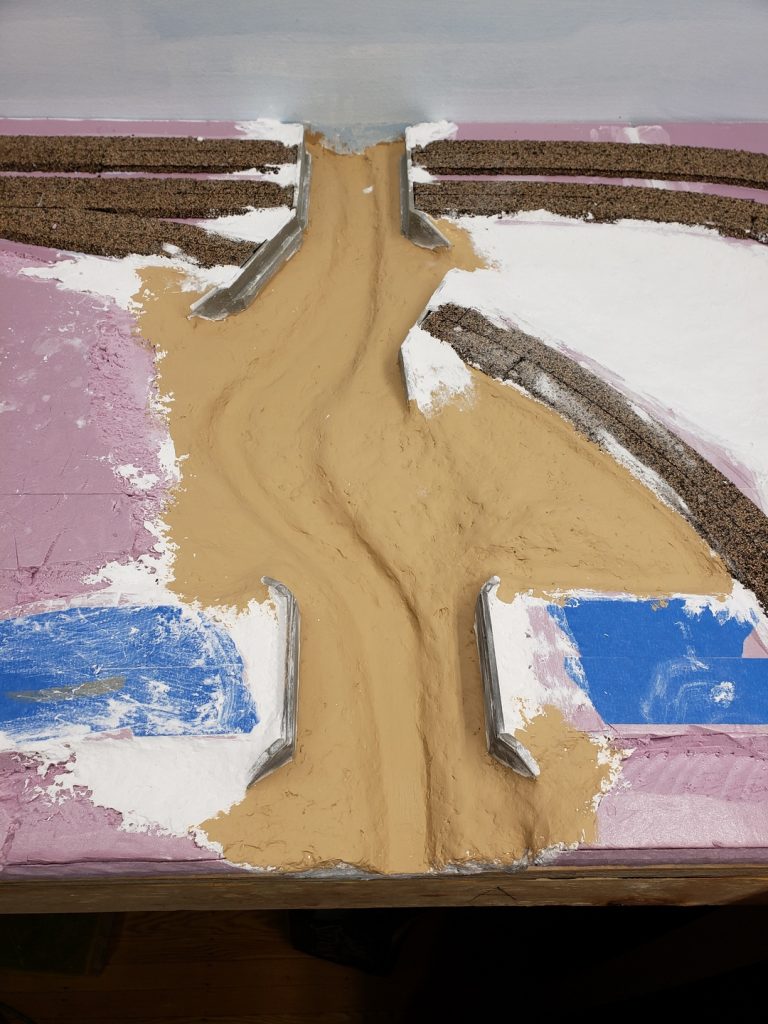
So that brings us to the current status. The creek bed is shaped and has a base coat of paint. I need to decide what kind of details (rocks, debris, etc) the creek needs, paint the channel, add grass and foliage to the banks and pour the water.
That’s still a lot to do so there will probably be a couple more posts about this creek before it’s finished.