
I’m building my second Branchline Blueprint Series Box Car model and I thought I’d document my process. It’s a little different than what the instructions suggest you do.
The instructions are a little vague about what order you should assemble things, and if you follow them in the normal reading direction (left to right, top to bottom) you are more likely to break some small parts.
The instruction sheet is divided into five sections in this order: Underframe, Ends, Body, Doors and Final Details. If you assemble it in that order you will be installing fragile parts way too early in the process. Here is my system – it’s a little generic because the models might have some differences. Read all the provided instructions before you start.
- Inspect all the parts for damage.
- Clean any flash or sprue leavings from the body.
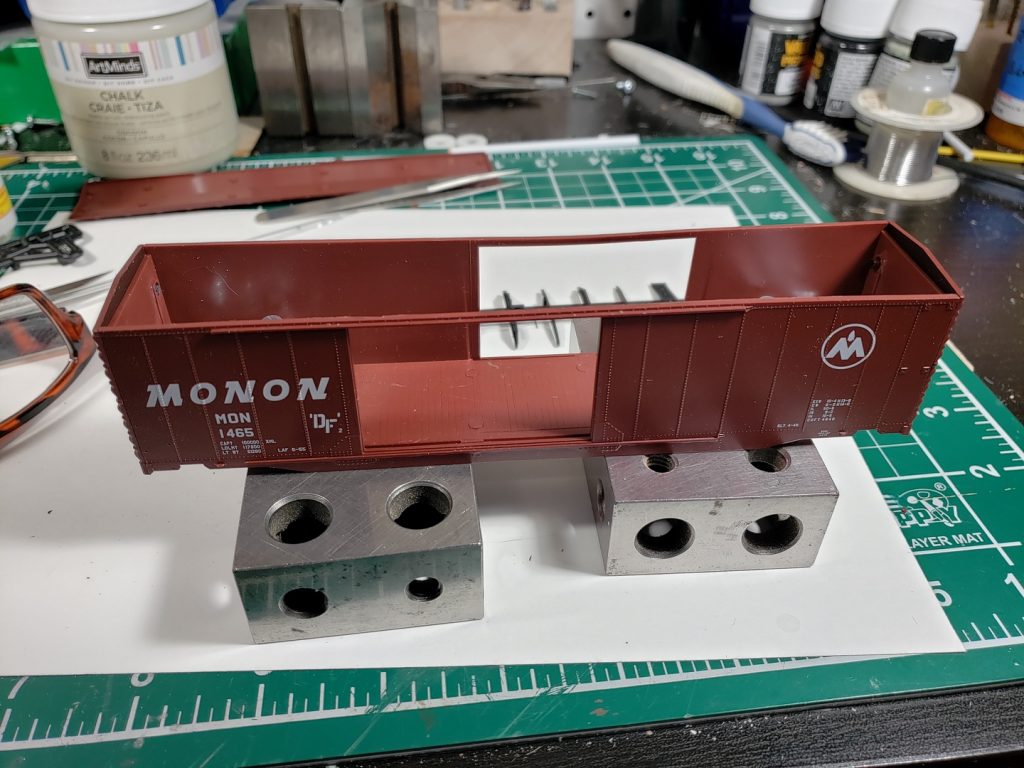
- Remove the underframe from the sprue and clean any flash. Fit the underframe to the body and trim if needed. Do not glue at this point.
- Use a #75 drill in a pin vise to clean out all the holes in the body and the car ends.
- Fit and glue the car ends to the body.
- Glue the weights into the body – I use canopy glue for this step. I also like to add extra weight. I over-weight my cars a little – about one ounce per inch of car.
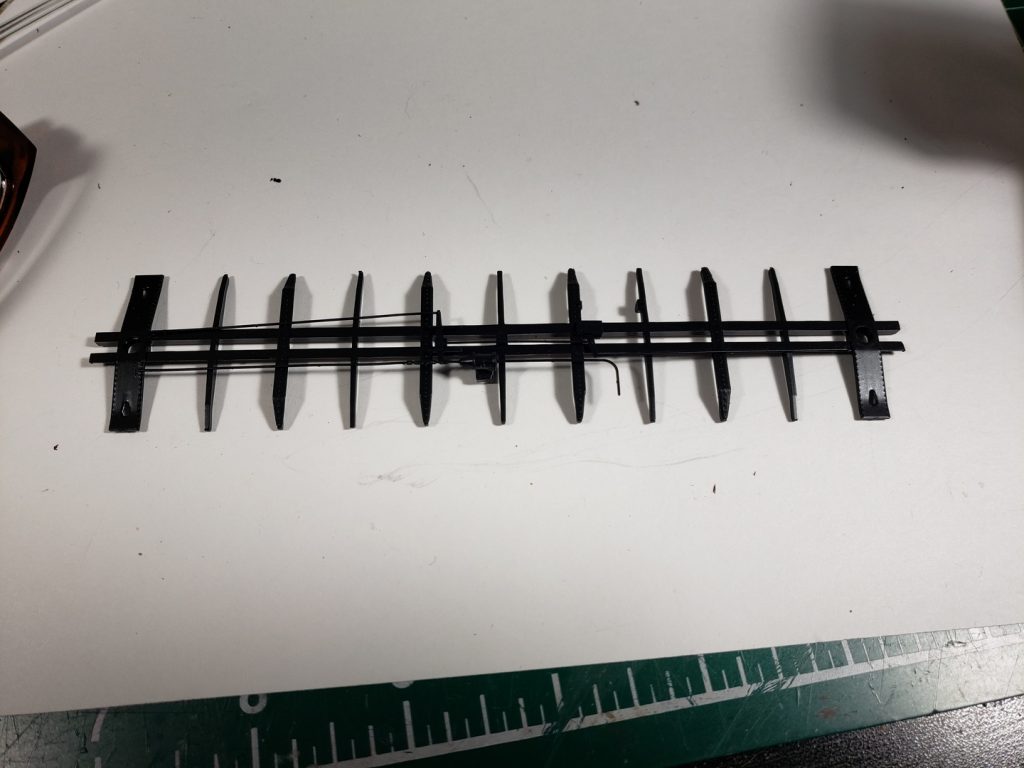
- While the glue for the weights is drying you can glue the brake piping to the underframe.
- If the car has a roof walk, and the instructions call for it, drill out the mounting holes on the roof.
- Install the roof walk (if there is one.) This lets you glue it on from the underside if possible.
- After the glue for the weights is dry, glue on the roof.
- If there are brake parts to install on the bottom before the underframe is installed, do it now.
- Install the underframe.
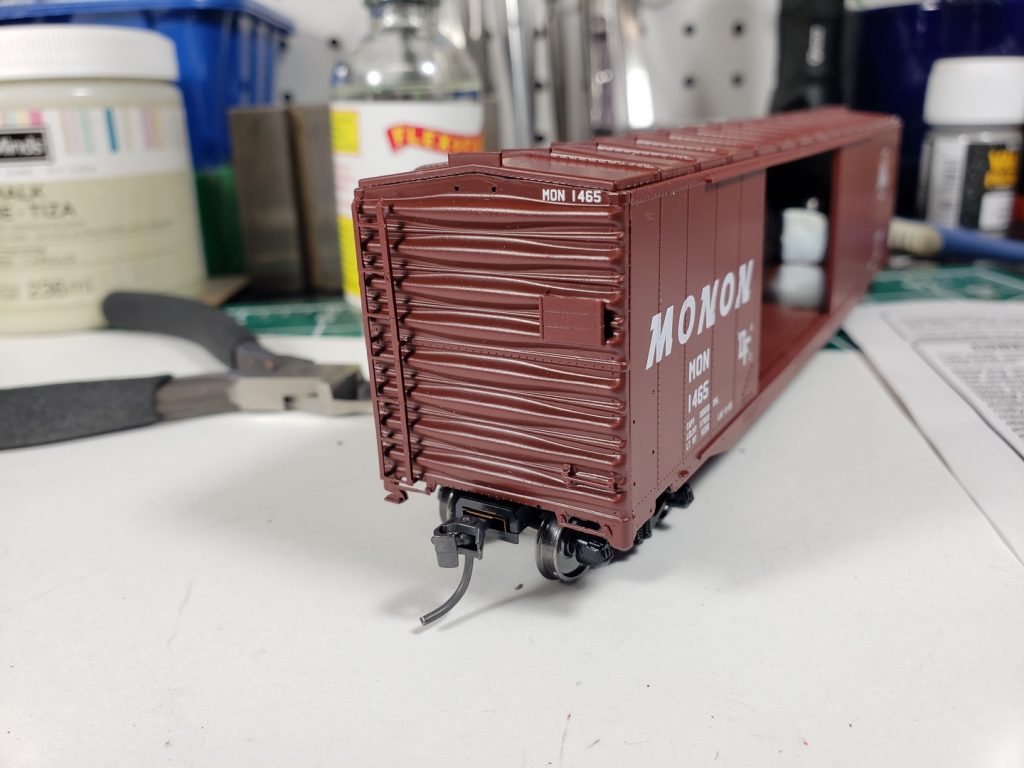
- Install the coupler boxes and couplers. I installed Kadee couplers and used the draft gear that came with the couplers.
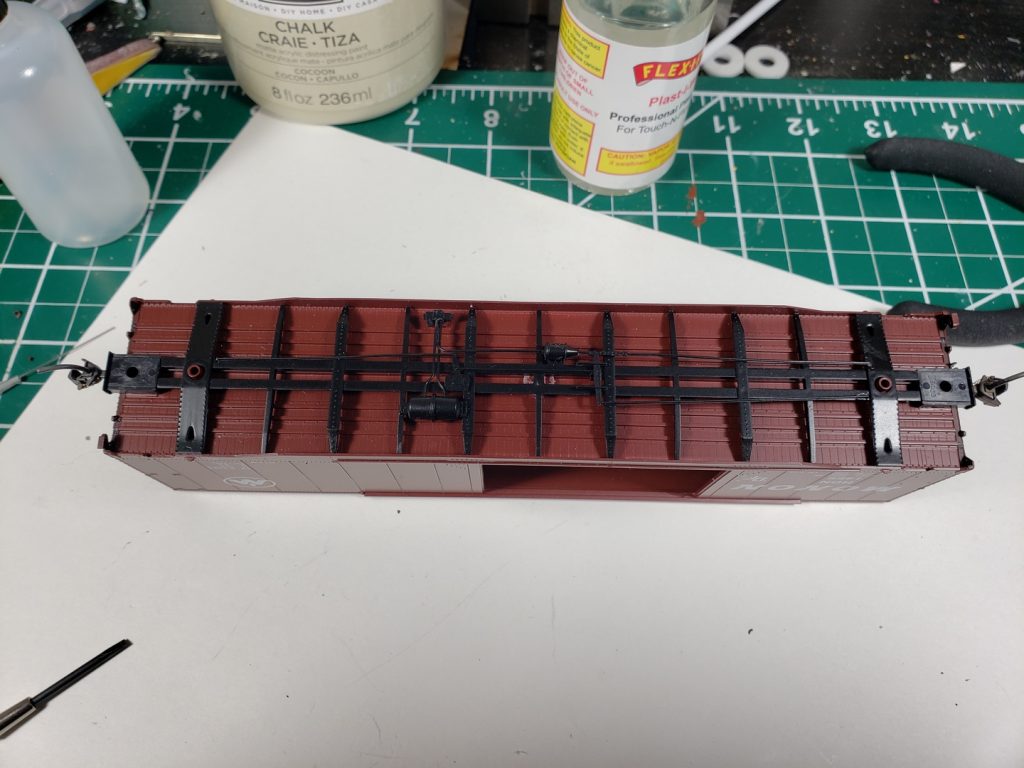
- Install the trucks – this lets you set down the car without worrying about the bottom details getting damaged. This is a good time to check the coupler height and make sure the trip levers are at the right height.
- Install the doors. You can glue them on or follow the instructions to make them movable.
- Glue the tack boards on the sides. Look at the (muddy) photos to figure out where they go, or find some prototype photos online.
This completes all the major assembly. Now we can start installing all the small parts. I like to follow this order:
- Start on the A (non-brake) end and add all the ladders, grabs, roof walk support, tack board and such. I do not install the coupler cut lever or air hose at this point – they are very fragile.
- Move to the B end and install the ladders, grabs, brake hardware, roof walk support, tack board and such. Again, I do not install the coupler cut lever or air hose at this point.
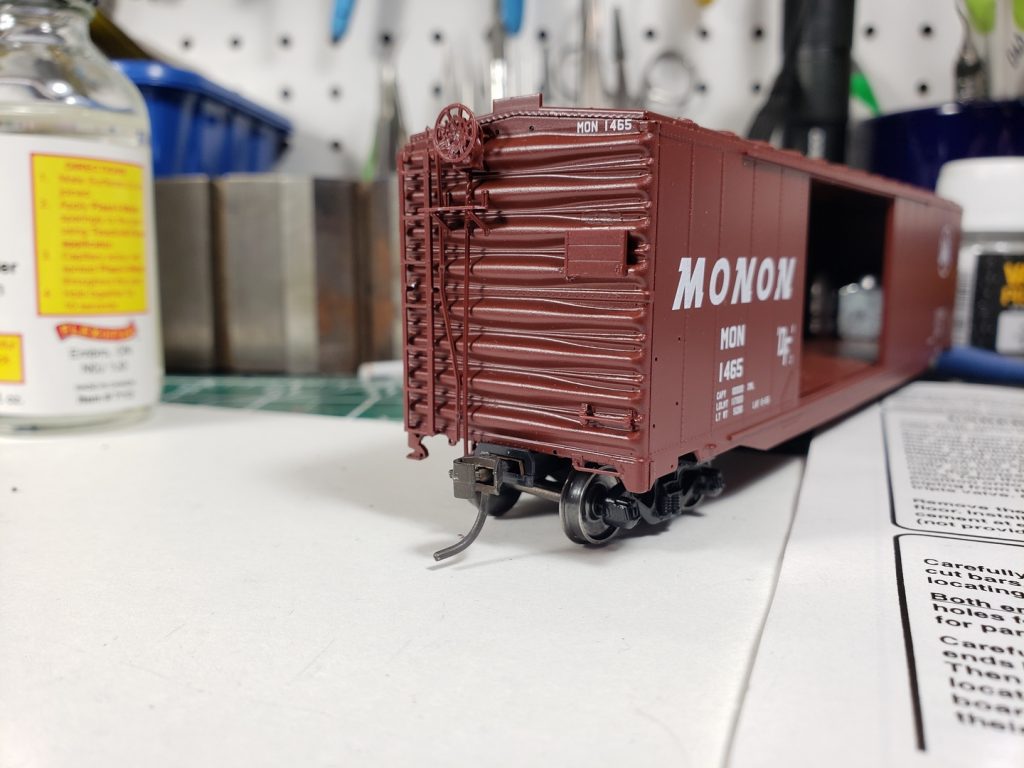
- Next I install all the ladders and grabs on the body of the car. I install the stirrups last because they are pretty fragile.
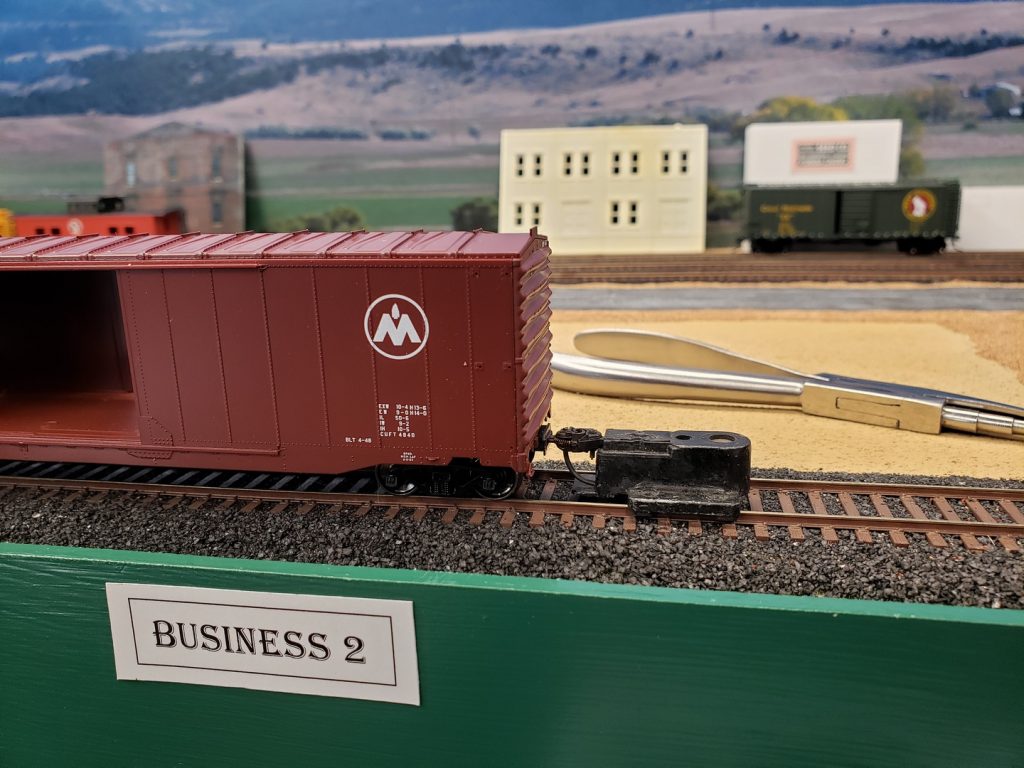
- The last step is to install the air hoses and coupler cut levers. They are pretty fragile, so quite often I’ll leave the air hoses off. I’ll probably replace the cut levers with wire, or some of the etched brass ones I bought.

And done. These kits do make a pretty nice looking model if you take your time don’t rush it.
Unfortunately it appears that this kit has two incorrect doors. I’ve emailed Branchline to see if they can send me the right ones.